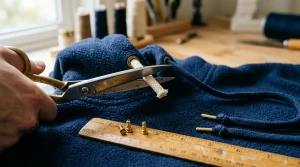
Are you tired of your standard hoodie look? Transforming your neckline can take your favorite piece from ordinary to extraordinary in just minutes! Cutting your hoodie neckline not only personalizes your style but also enhances comfort. Whether you’re after a laid-back vibe or a chic, trendy look, this simple modification is a game changer. In this guide, we’ll walk you through the steps to achieve the perfect cut, ensuring you feel empowered to revamp your wardrobe. Say goodbye to boring and hello to a fresh, customized aesthetic that reflects your unique personality. Get ready to impress with a hoodie that feels as good as it looks!
How to Choose the Perfect Hoodie for Neckline Customization
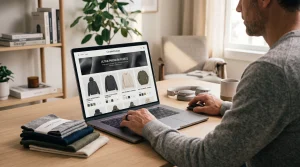
When selecting the ideal hoodie for neckline customization, it’s essential to consider not only the style and fabric but also how receptive the material is to alterations. A hoodie that is made from a soft, stretchy fabric like cotton or a cotton-blend offers the most versatility. These materials allow for easy adjustments and maintain their shape after modifications. Look for hoodies that have a good blend of comfort and durability, which can withstand cutting and styling without fraying or losing their structure.
Design Features to Consider:
- Hoodie Shape: Opt for hoodies with a more relaxed fit to allow for more dramatic neckline changes.
- Neckline Style: Decide if you want a crewneck, v-neck, or wide neck before you start; this will guide your cutting technique.
- Fabric Thickness: Thicker fabrics may require more careful cutting, while thinner options can be cut easily but may not hold their shape.
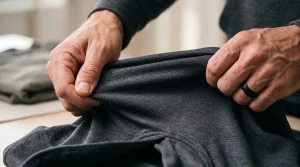
Additionally, pay attention to how the neckline currently looks. Hoodies with ribbed or finished necklines can pose more challenges during customization than those with raw edges. Always try on the hoodie before making cuts to ensure that the style fits your envisioned look. By thoughtfully selecting your hoodie, you’ll set yourself up for a transformation that showcases your unique style and creativity. A well-chosen base will make any neckline adjustment look intentional and chic.
Essential Tools for Cutting Your Hoodie Neckline
When it comes to customizing your hoodie neckline, having the right tools is essential for achieving a polished and professional look. Cutting a hoodie isn’t just about grabbing a pair of scissors; it requires specific instruments that will make the process easier and ensure clean edges. With the proper tools at hand, you’ll transform your basic hoodie into a stylish piece that truly reflects your personality.
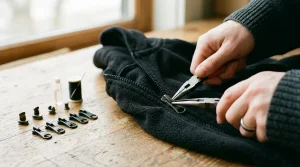
First and foremost, invest in a quality pair of fabric scissors. Unlike regular scissors, fabric scissors are designed to cut through fabric smoothly without causing fraying. Their sharp blades will help you achieve precision in your cuts, which is pivotal when designing necklines. If you’re considering adding intricate designs or patterns to your neckline, you might also want to include a rotary cutter and a cutting mat. A rotary cutter offers a clean cut and is great for curves, making it ideal for unique neckline shapes.
A fabric ruler will be your best friend during the measuring and cutting phases. It allows for accurate measurements and straight lines, preventing any mischance that could spoil your design. Additionally, tailor’s chalk or a fabric marker will help you outline your desired neckline style before you make those irreversible cuts. These tools ensure that you always know where to cut and maintain symmetry in your design.
Lastly, don’t forget about safety! A pair of thimble or a craft knife for any detailed work will keep your fingers protected from snags and cuts. By equipping yourself with these essential tools, you’ll not only enhance your cutting accuracy but also infuse creativity into your hoodie customization project, leading to an exciting and uniquely stylish result. Happy customizing!
Step-by-Step Guide to Cutting a Hoodie Neckline
Transforming your hoodie neckline is a fantastic way to showcase your style and make a cozy piece of clothing feel uniquely yours. Whether you’re looking for a wider neckline or a different shape altogether, the process can be both simple and satisfying. Follow these easy steps to cut and customize your hoodie neckline like a pro!
First, lay your hoodie flat on a clean, sturdy surface. Make sure you’ve chosen a comfortable spot where you can work undisturbed. Use your fabric ruler to measure how much width you want to add to the neckline. This will help you decide the depth and width of your cut-typically, a wider neckline should not go deeper than about 4 to 5 inches. Mark your desired neckline shape lightly with tailor’s chalk or a fabric marker, ensuring you maintain symmetry. If you’re feeling adventurous, consider sketching an asymmetrical design for an edgier look.
Once your design is ready, grab your fabric scissors and carefully cut along the lines you’ve drawn. Always cut slowly to maintain control and avoid mistakes. If you’re adding a curved or unique shape, a rotary cutter can provide that smooth edge you’re going for. After cutting, check for any frayed edges. If you notice any, you can easily stitch them or apply some fabric adhesive to prevent further fraying.
Lastly, give your newly cut neckline a quick try-on. This allows you to see how the new shape feels and gives you a chance to make any additional adjustments if necessary. If everything looks good, consider embellishing your new neckline with a fabric patch or some embroidery for an even more personalized touch. With just a few simple cuts, your hoodie will transform into a standout piece that reflects your personal style!
Creative Neckline Styles to Try on Your Hoodie
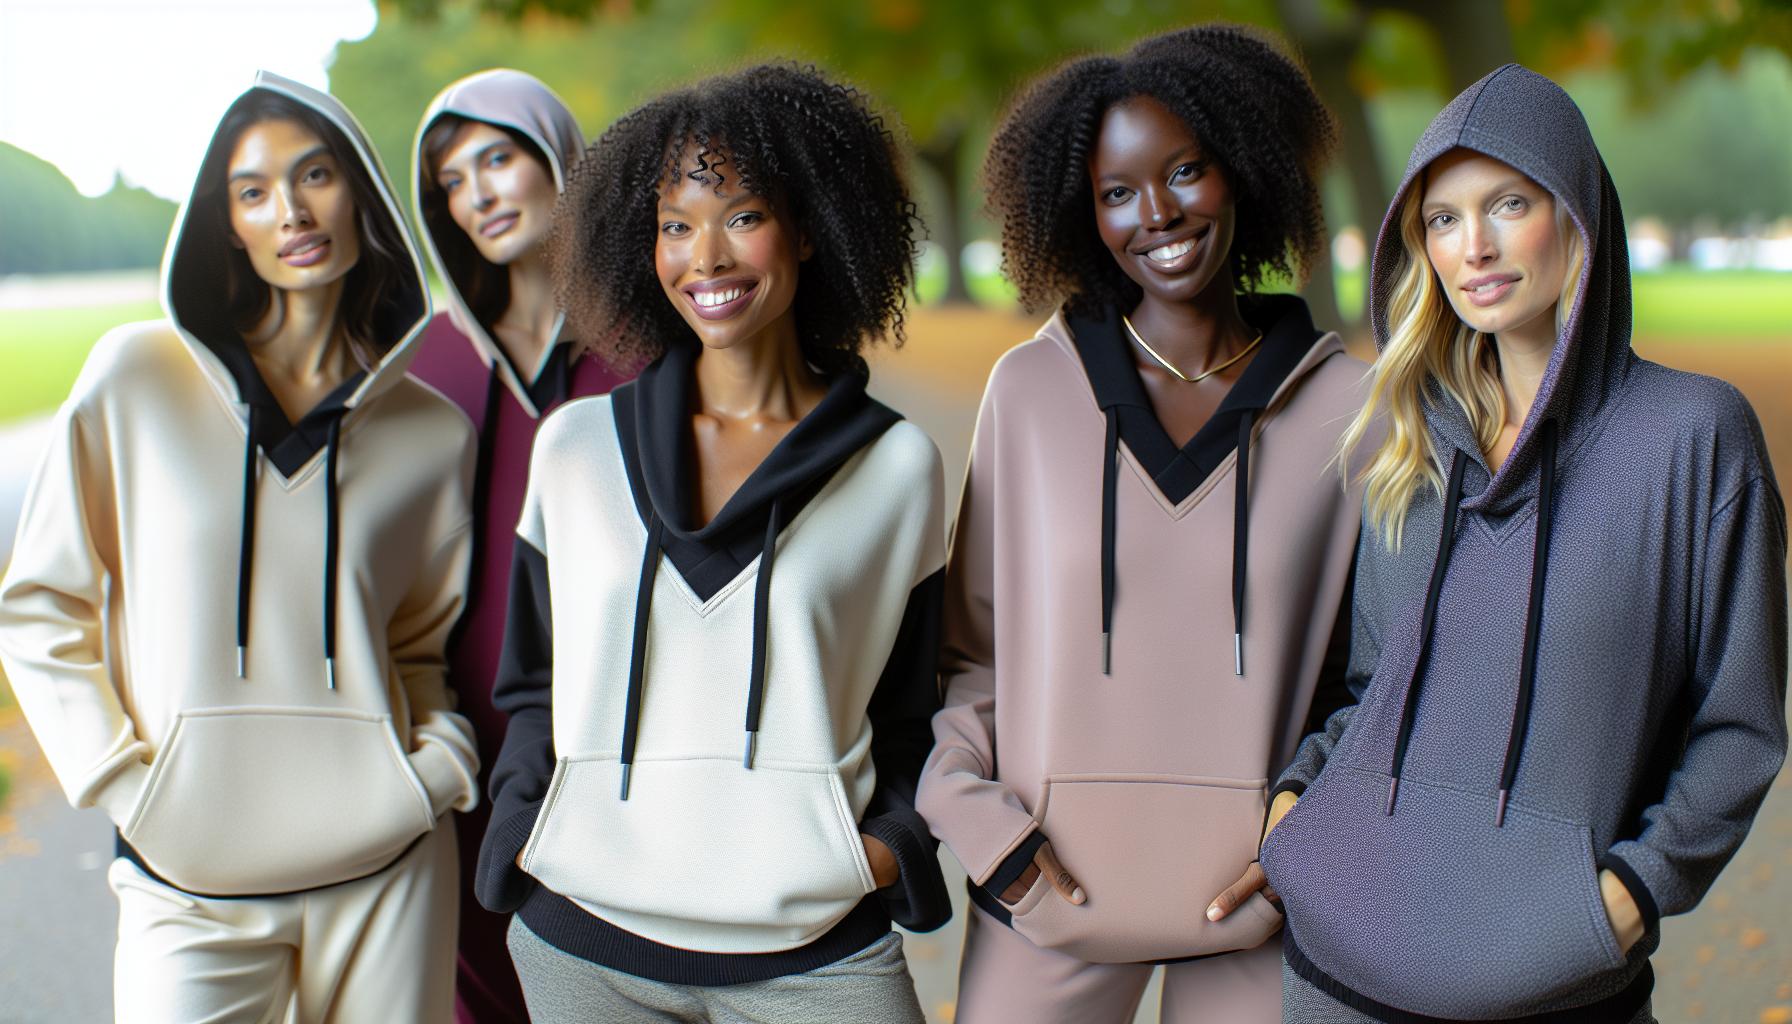
Adding a creative touch to your hoodie neckline not only showcases your personal style but also transforms a basic piece of clothing into a fashionable statement. Embracing unique neckline styles allows you to breathe new life into your favorite hoodies, making them perfect for various occasions. Below are several inspiring neckline ideas that you can customize to enhance your wardrobe.
Off-the-Shoulder Style
One trendy option is to create an off-the-shoulder neckline. This style is perfect for bringing a touch of femininity to your cozy hoodie. To achieve this look, simply cut the neckline wider and lower, letting both shoulders peek through. Pairing it with a casual tank top underneath creates a laid-back yet stylish vibe that’s great for casual outings or lounging at home.
V-Neck Variation
Another versatile option is the V-neck cut. Not only does this style elongate your neck, but it also adds a sophisticated flair to your hoodie. To create a V-neck, start at the center of the neckline and cut down to your desired depth, tapering out to each shoulder. This style works well for layering with necklaces, giving your outfit an elegant touch.
Curved Hemline
For a modern twist, consider a curved or rounded neckline. This playful shape can soften the overall look of your hoodie. Simply sketch a gentle curve from shoulder to shoulder, and cut along the line. This modification allows for comfort and a relaxed fit while keeping your style fresh and interesting.
Asymmetrical Cut
Feeling adventurous? Go for an asymmetrical neckline! This edgy style can make your hoodie stand out in a crowd. Choose one side to be lower than the other, cutting diagonally from shoulder to opposite side. The result is a unique, stylish look that adds flair to your casual wardrobe.
Experimenting with these neckline styles provides not only an instant upgrade to your favorite hoodies but also an avenue for personal expression. Don’t hesitate to mix and match ideas or add hand-stitched embellishments to make each piece uniquely yours! With these creative approaches, you’ll turn a simple hoodie into a canvas for your personal style.
Tips for Measuring Your Hoodie Neckline Accurately

Measuring your hoodie neckline accurately is a crucial step to ensure that your customizations turn out just right. With the right measurements, you can avoid mishaps that might lead to a neckline that’s too tight or too loose, which could compromise the overall aesthetic of your hoodie. Remember, a well-measured neckline can dramatically elevate your hoodie’s style and comfort.
Start by gathering a flexible measuring tape, preferably one suited for fabric work, as it can easily contour to curves. Place the measuring tape around the existing neckline, measuring from the center front to the back neckline, determining the depth and width you desire for your new cut. For a V-neck, for instance, decide how deep you want the V to go and taper outward toward the shoulders. It’s helpful to mark these measurements with fabric chalk or a water-soluble pen, as this will guide your cutting process without committing right away.
Another key aspect is considering how the fabric behaves. Some materials, especially knits, can stretch over time. To account for this, measure your desired neckline while wearing a fitted top underneath, simulating how the hoodie will fit during regular wear. This will give you a practical perspective on how the neckline feels and looks, ensuring your customization enhances comfort as well as style.
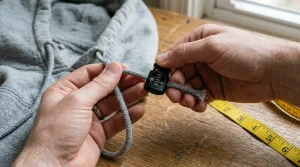
Finally, it’s always wise to take a look at the original design of the hoodie. Examine how the neckline flows with the overall look of the garment. If your hoodie has drawstrings or hoods, consider how altering the neckline might impact their placement. Taking these factors into account ensures that your modifications will create harmony throughout your piece, allowing your newly customized hoodie to be a treasured staple in your wardrobe.
How to Style Your New Hoodie Neckline
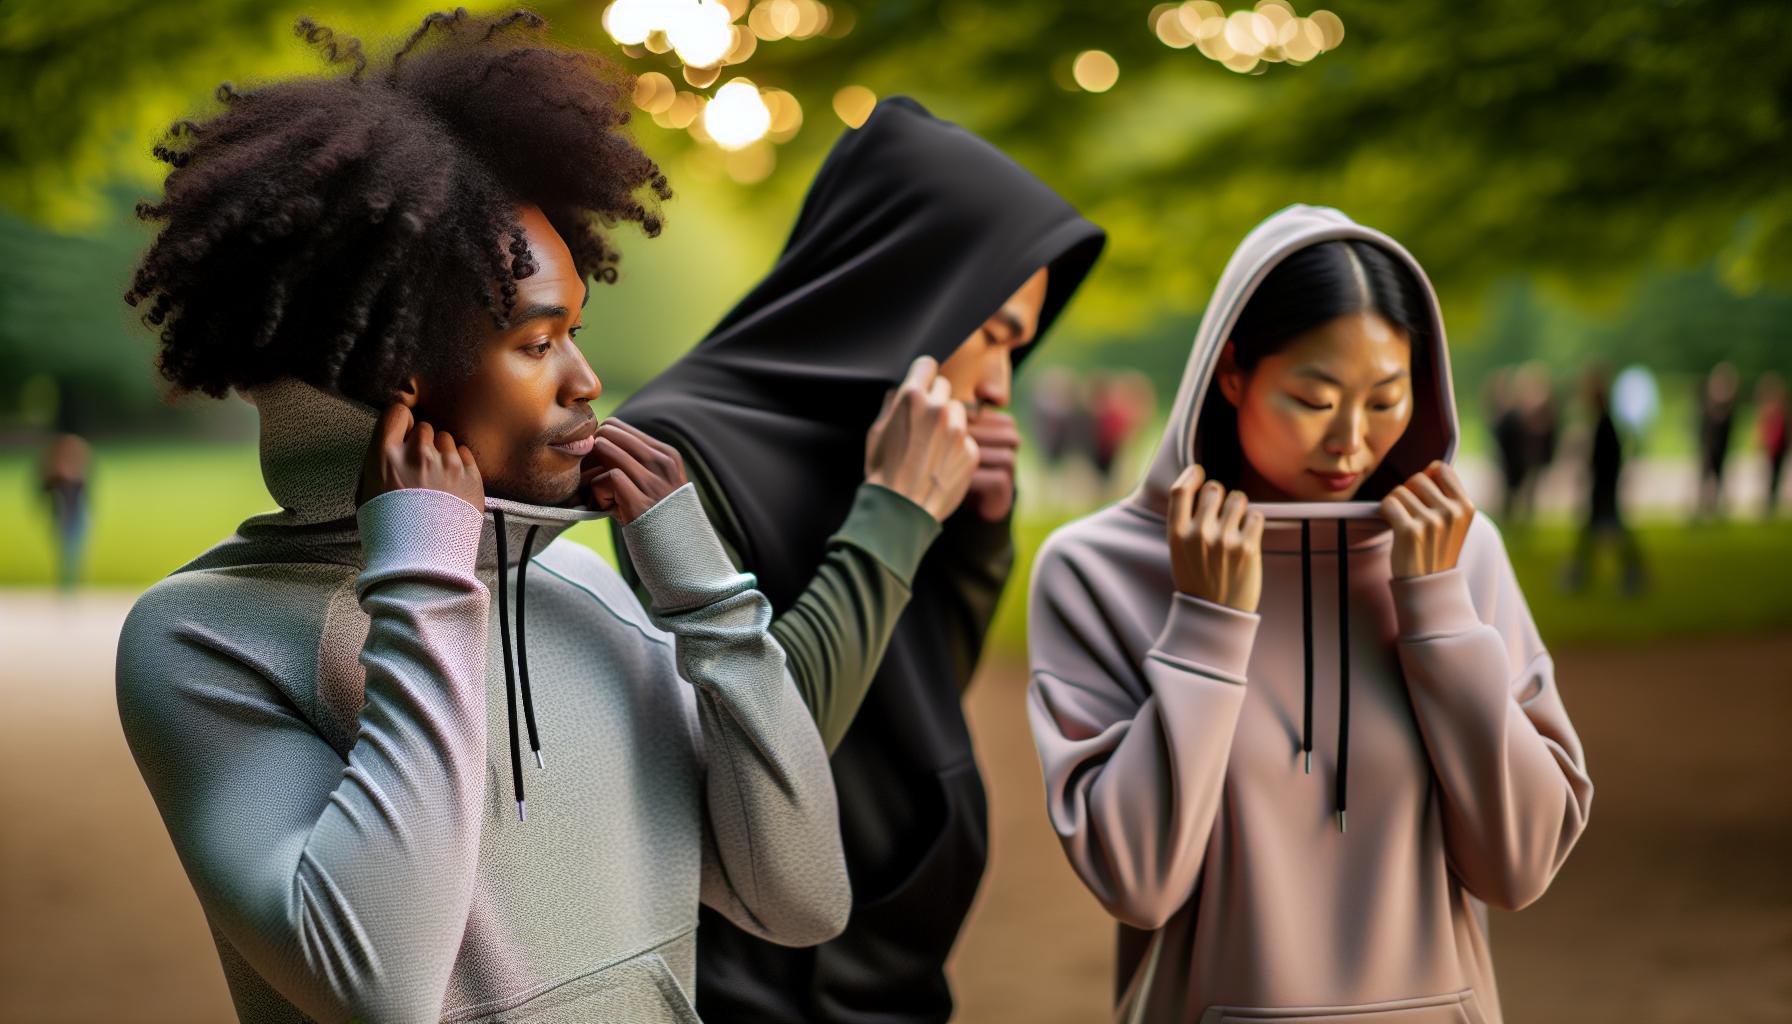
Transforming your hoodie neckline is not just a functional adjustment; it’s a bold style statement! Whether you’ve snipped it into a trendy V-neck or created a wide boat neck, styling your new neckline can elevate your entire outfit, showcasing your personality and creativity.
Pairing your customized hoodie with the right pieces is essential for achieving a balanced look. For a casual vibe, team your new neckline with high-waisted jeans or joggers. This combination allows the neckline to shine while providing comfort. If you’re leaning towards a sportier aesthetic, consider layering your hoodie over a fitted tank top; this will accentuate the neckline while adding dimension to your outfit. Don’t shy away from experimenting with accessories! A statement necklace can beautifully frame a cut-out neckline, while a scarf can add a dash of color and texture.
Adding Layers and Textures
Layering can take your styled hoodie to the next level. Opt for a denim jacket or a long cardigan that complements your hoodie’s color scheme. This not only keeps you warm but also enhances the visual interest of your outfit. For footwear, try ankle boots or sneakers; both options will keep your look effortlessly chic and comfortable.
Color Coordination and Fabrics
Think about the color palette and fabric combinations. If your hoodie features a bold neckline, consider wearing it with neutral-colored bottoms to let the top take center stage. Conversely, if you have a more subdued neckline, feel free to play with patterns or vibrant colors below. Remember, fabric choice matters too! Soft cotton hoodies are perfect for casual outings, while luxe materials like French terry or fleece can elevate your style for more polished looks.
The beauty of customizing your hoodie neckline lies in the versatility it offers-it’s a canvas for personal expression. So, let your newfound style flourish, and don’t forget to rock your look with confidence!
Caring for Your Customized Hoodie: Washing and Maintenance
Customized hoodies represent not only personal style but also a commitment to comfort. To keep your newly cut and styled hoodie looking fresh and vibrant, proper care is essential. Just like customizing your neckline, maintaining the quality of your hoodie helps preserve the creativity and individuality you’ve infused into it.
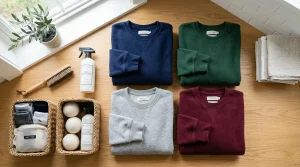
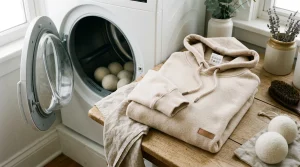
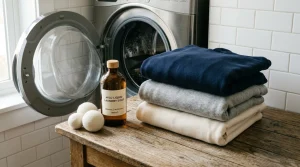
To ensure your hoodie remains in top-notch condition, start by washing it inside out. This simple step protects the design from abrasion during the wash cycle. Always opt for cold water and use the gentle cycle, unless your hoodie is heavily soiled. When it comes to drying, avoid the high heat settings; instead, choose a low heat tumble dry to prevent shrinking and fabric damage. If you’re dealing with stains, act quickly! Blot the stain with cold water and use a mild detergent for a targeted clean.
In addition, it’s wise to steer clear of ironing directly on printed or embroidered areas, as the heat can distort or damage the design. If necessary, lightly iron the fabric inside out or over a protective cloth to avoid direct contact with the embellishments. For an extra touch, consider hand washing your hoodie with a gentle detergent to give it a little love and attention, ensuring it lasts through countless wears and washes.
By taking these precautions, not only will your hoodie maintain its aesthetic appeal, but it will also allow the unique transformation you’ve made to your neckline and style to shine for years to come. Embrace your creativity and continue customizing with confidence, knowing your hoodie is in great hands!
Inspiring Examples of Upcycled Hoodie Transformations
Transforming a basic hoodie into a unique fashion statement can be an exhilarating journey, especially when it comes to upcycling your old favorites. Think about it: every small cut and embellishment tells a story of creativity and sustainability. Various hoodie enthusiasts have taken that to heart by showcasing inspiring transformations that not only reinvent their wardrobe but also promote eco-conscious fashion choices.
One popular approach to upcycling is creating a sleeveless hoodie from an oversized pullover. Simply cut off the sleeves and finish the edges for a trendy, athleisure look that’s perfect for layering over fitted tees. Another creative idea is to convert an old hoodie into a crop top. By cutting it to your desired length and optionally adding a drawstring or elastic band at the hem, you can easily achieve that fashionable cropped style that pairs well with high-waisted bottoms.
For those who love a little extra flair, embroidery and patches offer an exciting option. Personalizing your neckline or adding designs around the hood can enhance your hoodie’s visual appeal, making it truly one-of-a-kind. A recent trend involves using old scarves or fabric scraps to create a patchwork effect, resulting in a vibrant and eclectic hoodie that stands out. Likewise, you can incorporate tie-dye techniques to refresh your hoodie’s color scheme. Using a variety of knots and twists, people have created stunning rainbow patterns that breathe new life into their garments.
Finally, don’t overlook the potential of fabric paints and stencils. With a simple design or phrase, you can express your personality or even support a cause close to your heart. The fusion of creativity and upcycling not only gives your hoodie a new lease on life but also transforms it into a canvas for self-expression. By embracing these techniques, you’ll contribute to a more sustainable approach to fashion while ensuring your hoodie is as unique as you are.
Popular Neckline Customizations: Compare Your Options
Transforming your hoodie neckline offers an exciting opportunity to personalize your style while ensuring comfort. Popular customizations like cutting a hoodie for a relaxed, off-the-shoulder look or giving it a trendy V-neck cut can dramatically alter the aesthetic of your top, making it a true reflection of your personality. Understanding the various neckline options available allows you to unleash your creativity and enhance your wardrobe effortlessly.
One of the simplest yet most popular modifications involves creating a scoop neck. This style is achieved by cutting a curved line from shoulder to shoulder, resulting in a more flattering fit that can be both casual and chic. Another trendy option is the cold shoulder cut, where you remove sections of fabric from the shoulders, creating an edgy, fashionable look that’s perfect for layering. If you’re after something more daring, consider the deep V-neck, which provides an intriguing silhouette perfect for pairing with a bralette or layering over a fitted top.
When it comes to customizing your hoodie neckline, the finishing touches can make a substantial difference. For example, while cutting the neckline, consider using a fabric binding or a simple zigzag stitch along the edges to prevent fraying and give it a professional finish. Moreover, employing embroidery techniques to embellish the new neckline-such as floral patterns or quirky quotes-adds a personal flair that elevates your hoodie from basic to bespoke.
As you explore these options, keep in mind that your hoodie can also embody eco-friendly practices through upcycling. You might use leftover fabric from other projects to create contrasting necklines or patches that give your hoodie a unique touch. Whichever style you choose, remember that the goal is to feel comfortable and showcase your individuality. So grab a pair of scissors, some fabric paint, or embroidery thread, and let your creativity soar!
Troubleshooting Common Hoodie Cutting Mistakes
Mistakes when cutting a hoodie neckline can be frustrating, especially when you’re aiming for that perfect blend of comfort and style. Whether you’ve accidentally cut too deep, misjudged the angle, or ended up with uneven edges, these common pitfalls can often be fixed with a little creativity and resourcefulness. Here’s how to troubleshoot these issues and transform them into styling opportunities.
One of the most frequent mistakes is cutting the neckline too wide or deep, which can lead to an unflattering fit. If you find yourself in this situation, consider adding a decorative touch to the remnant fabric. For instance, you could stitch a small fabric panel or patch over the cut area or utilize embroidery to embellish the neckline, drawing attention away from the cut. Additionally, experimenting with accessories like chokers or layered necklaces can create visual interest that distracts from any cutting mishaps.
Another common issue is uneven cuts, which can make your hoodie look haphazard instead of stylish. If you notice that one side of the neckline is higher or lower than the other, don’t panic! You can fix it by evening out the neckline gradually; just remember to take your time and make small adjustments. To guide your cuts and achieve a more polished finish, try using a fabric marker to draw a line where you want to cut before you actually do it. This precaution helps ensure symmetry and precision.
Finally, if you find yourself hesitant about the extent of your modifications, always start small. You can create a subtle change by lightly trimming just a bit off the neckline first. If you feel confident after that, you can progressively cut more until you reach your desired style. Remember, it’s easier to take away more fabric than it is to add it back!
Don’t forget to step back and try on your hoodie after every alteration to see how it feels and fits. Your comfort is key, and adjustments should enhance your personal style while making you feel good. With some patience, creativity, and a little troubleshooting, you can turn any cutting mistakes into an opportunity to showcase your unique flair.
How to Use Embroidery to Enhance Your Hoodie Neckline
Elevating your hoodie with embroidery not only adds a personal touch but can also transform the entire look and feel of your garment in just a few minutes. Whether you’re looking to mask a cutting error or simply want to enhance the aesthetic appeal of your hoodie neckline, embroidery offers versatility and creativity. This decoration technique serves as an optimal solution, allowing you to play with different colors, patterns, and designs that reflect your unique style.
To get started, select a design that resonates with your personal taste. Popular options include minimalist monograms, floral motifs, or geometric shapes. Consider where you want to place the embroidery; a simple outline around the neckline can create a polished frame, while a bold central design can draw attention. If you’re feeling adventurous, try layering different stitches, which can introduce interesting textures and depth. Here are some tips for creating an eye-catching embroidered neckline:
- Choose the Right Thread: Using contrasting thread colors can make your design pop, while subtle tones can offer a more understated look.
- Experiment with Stitches: Incorporate varying embroidery techniques like satin, back stitch, or chain stitch to provide dynamic interest.
- Positioning: Center your design above the cut line for balance, or let it elegantly spill over one side for a casual vibe.
Once you’ve laid out your design, take the time to secure it properly. Using an embroidery hoop can prevent the fabric from bunching, ensuring clean and polished stitches. After successfully adding your embroidery, the final step is maintenance. Proper care will keep your designs intact; always wash your hoodie inside out on a gentle cycle to preserve the embroidery’s integrity. Avoid harsh detergents and skip the dryer to prevent any potential damage.
Incorporating embroidery into your hoodie neckline not only enhances its aesthetic appeal but also showcases your creativity, turning an ordinary piece into a statement garment brimming with personality. Your hoodie can now serve as both a canvas for self-expression and a comfortable staple in your wardrobe.
DIY Tie-Dye Techniques for Customized Hoodies
One of the most playful and creative ways to personalize your hoodie is through the art of tie-dye. This vibrant and expressive technique not only allows you to showcase your unique style but can seamlessly complement any neckline customization you choose to make. Whether you’re looking to create a subtle swirl or a bold explosion of colors, DIY tie-dye techniques can transform a plain hoodie into a wearable work of art.
To get started, you’ll need some essential supplies: fabric dye (liquid or powder), rubber bands, a spray bottle, a large plastic tablecloth or trash bags to protect surfaces, and gloves to keep your hands dye-free. Begin by pre-washing your hoodie to remove any sizing or chemicals that may hinder dye absorption. Once it’s dry, you can experiment with various folding techniques-classic spiral, crumple, or stripe patterns-to create different effects on your garment.
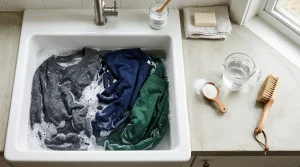
After you’ve secured your folds with rubber bands, it’s time for the dye! For a bold look, consider using multiple colors, allowing them to bleed into each other for a captivating ombre effect. If you’re feeling adventurous, try using a squeeze bottle for precise application or a spray bottle for a softer finish. Once your dyeing is complete, let your hoodie sit for several hours or overnight, depending on the intensity of color you desire. Afterward, rinse it thoroughly under cold water until the water runs clear, remove the rubber bands, and then wash it separately in cold water before drying.
Washing and Maintenance Tips
Custom tie-dyed hoodies require some special care to maintain their vibrant hues. Always wash them in cold water and preferably by themselves for the first few washes to avoid color bleeding onto other garments. Additionally, using a mild detergent will help preserve the integrity of your colors. If you try to limit exposure to direct sunlight when drying, you can minimize fading.
Finally, tie-dye is not just limited to color; it takes center stage when paired with a stylishly cut neckline. Consider how your dye patterns might transition seamlessly into your neckline design-swirling colors around a raw edge or emphasizing a cutout can create a striking visual effect. With these methods, your hoodie can become a true reflection of your personal style while celebrating the comfort and casual nature that hoodies are known for.
Q&A
Q: What is the best way to cut a hoodie neckline for a trendy look?
A: The best way to cut a hoodie neckline is to start by laying the hoodie flat and using a fabric marker to outline your desired neckline shape. Choose a style like a scoop or V-neck to enhance your look, then carefully cut along the lines for a clean finish.
Q: How do I ensure my cut hoodie neckline looks professional?
A: To achieve a professional-looking cut, use fabric scissors for clean edges and take your time measuring and marking the fabric before cutting. Consider finishing the edges with a sewing machine or fabric glue to prevent fraying and maintain a polished appearance.
Q: Can I adjust the neckline after cutting my hoodie?
A: Yes, you can adjust the neckline after cutting by adding fabric strips or using bias tape for a finished look. This method allows you to customize the depth and style even after the initial cut, giving you flexibility with your design.
Q: What materials do I need to cut a hoodie neckline?
A: You will need fabric scissors, a fabric marker or chalk, measuring tape, and optional bias tape or trimming for finishing the edges. Having these tools handy ensures that you have everything required for a smooth cutting process.
Q: How can I style my newly cut hoodie neckline?
A: Style your newly cut hoodie neckline with layered necklaces or a turtleneck underneath for a trendy vibe. Pair it with high-waisted jeans or leggings to complement the casual look while adding accessories like a beanie to enhance your overall outfit.
Q: Is there a specific technique for cutting a crop hoodie neckline?
A: For cutting a crop hoodie neckline, use the same marking technique, but consider angling your cut slightly downward towards the front for a flattering crop look. This adds dimension and ensures your crop style is chic and modern.
Q: What common mistakes should I avoid when cutting a hoodie neckline?
A: Common mistakes include cutting too deeply, uneven marks, and using dull scissors. Always cut slowly and steadily while double-checking your markings to avoid any mishaps that could ruin your hoodie.
Q: How do I care for my hoodie after cutting the neckline?
A: After cutting your hoodie neckline, wash it in cold water and hang it to dry to prevent shrinkage. Avoid using fabric softeners, as they can affect the material’s stretch and structure, keeping your customized hoodie looking fresh longer.
In Summary
Congratulations on transforming your hoodie into a stylish piece that reflects your unique style! By cutting the neckline, you’ve not only given your favorite garment a fresh look but also embraced the DIY spirit that makes hoodie culture so vibrant. Don’t stop here-explore our DIY customization tips and discover how to elevate your look even further with creative projects like tie-dye or embroidery.
Feeling inspired? Dive into our care guides for hoodies to keep your new style looking fresh, or check out our essential buying advice to find your next go-to garment. Don’t forget to share your new hoodie look in the comments below or tag us on social media! Your feedback makes our community stronger.
Ready to personalize your style? Subscribe to our newsletter for the latest tricks and tips on hoodie care and fashion-forward ideas. With just a snip and a couple of techniques, you’ve opened the door to endless styling possibilities!
Get our latest guides, news, and insights highlighted in your Google Search & AI Overviews.