✨ This article was AI edited. Editorial responsibility: CoolestHoodies.com.
Produced with AI. This article was artificially generated. Editorial responsibility: CoolestHoodies.com.
How to sew a sweatshirt? Sewing a sweatshirt requires cutting knit fabric along the cross-grain stretch, using ballpoint or stretch sewing machine needles (size 80/12 to 90/14), and constructing seams with flexible stitch patterns (such as a 4-thread overlock serger stitch or a narrow lightning/zigzag stitch on a home machine). Because looped French terry and brushed fleece stretch under pressure, use polyester corespun thread, stabilize shoulder seams with clear elastic or twill tape, and stretch 2×1 ribbing bands under tension while sewing necklines, cuffs, and waistbands.
Creating your own custom sweatshirt is one of the most satisfying projects in home sewing. When you sew a sweatshirt from scratch, you gain complete creative control over the silhouette: you can engineer the perfect oversized drop-shoulder drape, select luxurious heavyweight organic cotton fleece unavailable in fast-fashion boutiques, and tailor the sleeve length precisely to your arms without boxy retail compromises.
However, sewists transitioning from woven fabrics (like quilting cotton or linen) often encounter frustrating hurdles when sewing thick fleece: wavy puckered seams, broken needle threads, skipped stitches, and necklines that sag open like loose bowls. Below is the comprehensive masterclass on tools, pattern preparation, serger vs. sewing machine settings, and step-by-step construction for crafting heirloom-quality sweatshirts.
Essential Equipment & Needle Selection
Knit textiles behave fundamentally differently from rigid wovens. Using standard universal needles or straight lockstitches will cause fabric damage and thread breakage the first time you pull the sweatshirt over your head. Assemble these essential supplies before cutting your yardage:
| Tool / Supply | Recommended Specification | Textile Engineering Rationale |
|---|---|---|
| Machine Needle | Ballpoint / Jersey or Stretch (80/12 or 90/14) | Has a rounded tip that slides between knit loops rather than piercing and severing cotton yarn fibers (prevents run-holes) |
| Sewing Machine Thread | 100% Polyester Corespun (Gutermann Mara 100 or Sew-All) | Polyester has natural elastic elongation; cotton thread has zero stretch and snaps under joint pressure |
| Seam Stabilizer | 1/4-inch Clear Polyurethane Elastic or Cotton Twill Tape | Sewn into shoulder seams to prevent heavy sleeve weight from stretching the shoulder line out of shape |
| Walking Foot (Even Feed) | Dual-feed attachment for standard home machines | Feeds top and bottom layers of thick fleece simultaneously, preventing the top layer from stretching into a wavy ripple |
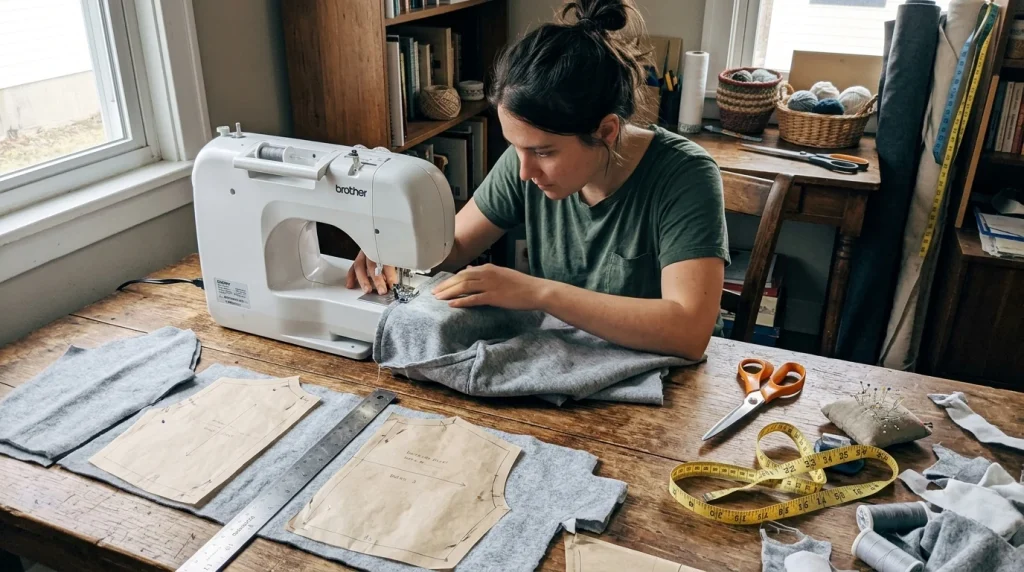
| Rotary Cutter & Mat | 45mm or 60mm rotary blade with acrylic quilting ruler | Cuts through thick lofty fleece without lifting the fabric off the table, preventing distorted pattern lines |
Fabric Selection: French Terry vs. Brushed Fleece
Your choice of yardage dictates the weight, drape, and warmth of the finished garment:
- French Terry (280 – 350 GSM): Features smooth jersey knit on the face and unbrushed thread loops on the reverse. Highly breathable, stable under the presser foot, and easy to sew for beginners. Perfect for transitional spring/fall pullovers.
- Brushed Cotton Fleece (350 – 480+ GSM): Looped yarns are brushed mechanically into a thick, lofty interior fuzz. Delivers superior winter warmth and streetwear boxiness, but produces significant lint during cutting and requires gentle seam flattening.
- Rib-Knit Fabric (for Cuffs & Neckbands): Always purchase matching 1×1 or 2×1 ribbing with 5% Spandex/elastane recovery. Never use self-fabric fleece for the neckline, as unreinforced fleece lacks the elastic snap needed to hug the neck cleanly.
Step-by-Step Construction Guide
Follow this standardized garment assembly order for a clean, professional finish:
Step 1: Pattern Layout & Grainline Alignment
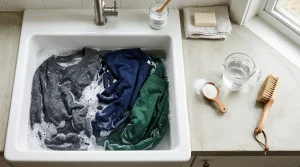
Pre-wash and dry your fabric before cutting to eliminate relaxation shrinkage (as detailed in our analysis of does alo shrink in the dryer). Fold the yardage along the grainline. The greatest direction of stretch (cross-grain) must wrap horizontally around the body circumference. Cut the front bodice, back bodice, two sleeves, neckband, waistband, and two wrist cuffs.
Step 2: Stabilize and Sew Shoulder Seams
Place the front bodice and back bodice right sides together. Lay a strip of 1/4-inch clear elastic or twill tape along the wrong side of the back shoulder seam within the seam allowance. Sew across the shoulder using a 4-thread overlock serger or a narrow lightning stitch on a home machine. The stabilizer ensures the shoulders maintain their crisp width permanently.
Step 3: Attach the Neckband (The 85% Ratio Rule)
The neckband is the focal point of the sweatshirt. To prevent a baggy, gaping collar, cut your rib-knit neckband to approximately 80% to 85% of the total circumference of the bodice neck opening.
- Fold the neckband in half widthwise, right sides together, and sew the short ends to form a continuous circle. Press the seam open.
- Fold the band in half lengthwise, wrong sides together, so raw edges align. Press with a steam iron.
- Divide both the neckband and the sweatshirt neckline into four equal quarters using pins or washable chalk markers.
- Pin the band to the right side of the neckline, matching the quarter marks (keep the seam at the center back).
- Sew around the perimeter, gently stretching only the neckband to match the flat bodice neckline as you stitch. Do not stretch the bodice fabric. Press seam allowance down toward the body.
Step 4: Insert the Sleeves “Flat”
Rather than setting sleeves in the round, sew sleeves flat. Open the assembled front and back bodice flat on your table with the right side facing up. Pin the curved sleeve cap to the armhole curve, right sides together, matching the center sleeve notch to the shoulder seam. Stitch the armhole seam. Repeat for the opposite sleeve.
Step 5: Stitch Side Seams and Underarms in One Continuous Pass
Fold the sweatshirt right sides together so the front matches the back. Align the wrist cuffs, sleeve underarm seams, and side body seams. Pin the intersecting underarm cross-seams so they lock together neatly. Sew from the wrist cuff all the way down the sleeve, through the underarm, and down to the bottom hem in one fluid, continuous pass on both sides.
Step 6: Attach Waistband and Wrist Cuffs
Construct the waistband and wrist cuffs from rib-knit in the same manner as the neckband. Divide the cuffs and waistband into quarters, pin to the sleeve and bodice openings, and stitch while stretching the ribbing to fit. Press all seams with steam.
Serger vs. Home Sewing Machine Settings
| Machine Type | Recommended Stitch Type | Stitch Length / Width | Differential Feed / Tension |
|---|---|---|---|
| 4-Thread Serger / Overlocker | 4-Thread Mock Safety Stretch Stitch | Length: 2.5mm – 3.0mm | Differential feed set to 1.2 to 1.5 (prevents wavy stretched edges) |
| Home Sewing Machine | Narrow Zigzag or Lightning Stitch | Length: 2.5mm / Width: 0.5mm – 1.0mm | Loosen upper thread tension slightly (set to 3.0 – 3.5); engage walking foot |
| Twin Needle (Hem Topstitching) | Stretch Twin Needle (4.0mm spacing) | Length: 3.0mm | Creates two parallel topstitches on front with flexible zigzag looper underneath |
For additional sewing, design, and styling guidance, explore our guide on technical stretch fabrics in stretch hoodies, learn how to style your finished garments in how to wear a hoodie, check laundering cadences in how often should you wash hoodies, and master closet preservation in should you hang or fold hoodies.
Frequently Asked Questions
Can you sew a sweatshirt without a serger or overlocker?
Yes! A standard home sewing machine can sew high-quality sweatshirts easily using a walking foot attachment and a stretch stitch (such as a narrow zigzag or lightning stitch). Because knit fleece does not fray like woven fabric, raw seam allowances do not strictly require overlocking, though you can finish edges with a simple faux-overlock stitch or pinking shears.
Why is my sweatshirt seam wavy and rippled?
Wavy seams occur when the presser foot pushes down too hard on thick fleece, mechanically stretching the knit fabric out of shape as the needle enters. Fix this by reducing your presser foot pressure, using a walking foot attachment, or increasing the differential feed ratio on your serger to feed the fabric faster.
How much yardage do I need to sew an adult sweatshirt?
An average adult sweatshirt (sizes XS to XL) requires approximately 1.75 to 2.25 yards (1.6 to 2.1 meters) of 58-to-60-inch wide fleece fabric, along with 0.5 yards (0.45 meters) of matching 2×1 rib-knit fabric for the collar, cuffs, and waistband.
Should you pre-wash fleece fabric before cutting?
Yes, pre-washing is mandatory. Cotton fleece and French terry can shrink between 5% and 8% during their initial wash and dry cycle. If you cut and sew unwashed fleece, your finished sweatshirt will shrink substantially in length and pull tight across the armpits after its first trip through the laundry.
What thread tension is best for sewing fleece?
On a conventional sewing machine, lower your top thread tension from standard (4–5) down to approximately 3.0 to 3.5. Looser needle tension allows the thread to flex and expand along with the fleece loops without snapping when the garment is pulled or stretched over the head.
Get our latest guides, news, and insights highlighted in your Google Search & AI Overviews.