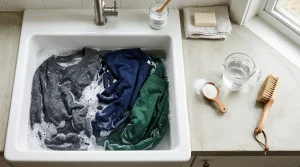
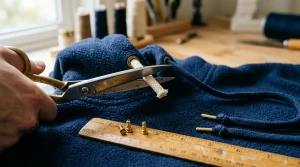
How to cut up a sweatshirt? When cutting a sweatshirt into a trendy cropped or distressed style, use heavy-duty fabric shears, mark 1 inch longer than your target crop to accommodate natural fabric roll, cut in continuous smooth strokes, and gently tug the raw edge to curl the hem.
Sweatshirts are the cornerstone of casual style, effortlessly blending comfort and fashion. But what happens when your favorite hoodie starts to feel a little too ordinary? Transforming it into a trendy, distressed masterpiece can elevate your wardrobe and express your unique personality. In this guide, we’ll explore five stylish DIY techniques for cutting up a sweatshirt that will not only breathe new life into your wardrobe but also keep you ahead of the style curve. Whether you’re looking to channel your inner fashionista or simply spruce up an old favorite, these techniques are easy to master and perfect for any skill level. Get ready to pick up those scissors and unleash your creativity, because your next favorite look is just a cut away!
How to Choose the Right Sweatshirt for DIY Cuts
Choosing the perfect sweatshirt for a DIY cut doesn’t just hinge on style – it’s also about fabric weight, texture, and fit. For those new to customization, your sweatshirt’s material can make a significant difference in how the final product looks and feels. Opt for comfy yet durable fabrics; cotton blends or lightweight fleece are excellent choices, as they hold up well during cutting and distressing. Look for options with some stretch, too; these materials will ensure your redesigned piece remains wearable and doesn’t lose its shape.
When considering fit, think about how you want the sweatshirt to drape on your body. An oversized or relaxed-fit sweatshirt is ideal for those who plan to create distressed looks, as it allows for a more forgiving cut and a laid-back vibe. If aiming for a cropped style, choose a standard-fit sweatshirt that gives you enough length to work with while still allowing for adjustment and modification. Don’t shy away from bold colors or graphics, either! These elements can add a personal touch that shines through even post-customization.
Lastly, keep an eye on details like drawstrings, cuffs, and the neckline when selecting your sweatshirt. A pullover with a hood can offer an array of stylish design choices when layered with cuts or fraying. You might find that sweatshirts with interesting seams or textures provide the perfect base for unique alterations, elevating your DIY project from ordinary to eye-catching. With the right sweatshirt in hand, you’ll be well on your way to crafting a one-of-a-kind piece that reflects your personal style.
Essential Tools for Cutting Sweatshirts Like a Pro
To take your sweatshirt customization to the next level, having the right tools is essential. The right equipment not only increases your efficiency but also enhances the quality of your work. Here’s a rundown of tools that can help you cut sweatshirts like a pro, ensuring you achieve trendy, distressed styles with ease and confidence.
First, a good pair of fabric scissors is a must-have. Unlike regular household scissors, fabric scissors are designed to glide through multiple layers of fabric without pulling or snagging. This precision is crucial for clean cuts, especially if you’re going for a specific style, like a distressed hem or cropped look. You might also want to invest in a rotary cutter and a cutting mat, which can help you achieve straight lines and intricate designs. This tool can be particularly useful if you’re planning to add fun details like a raw hem or unique cutouts.
Additionally, having a ruler or measuring tape will assist in planning your cuts accurately. It’s vital to measure before you cut! For those creative souls interested in adding embellishments, a sewing machine is a great investment. While it’s not essential for all DIY projects, it allows you to finish edges or add other fabric elements, such as patches or shapes, enhancing your unique design. Don’t forget pins or fabric clips to hold pieces together while you cut, ensuring everything stays in place.
Lastly, keep some chalk or fabric markers handy for marking your designs. These tools are perfect for outlining where you want to cut without leaving permanent marks on your sweatshirt. With these essential tools in your DIY kit, you’ll be well-equipped to create fashionable, personalized sweatshirts that showcase your unique style. Happy crafting!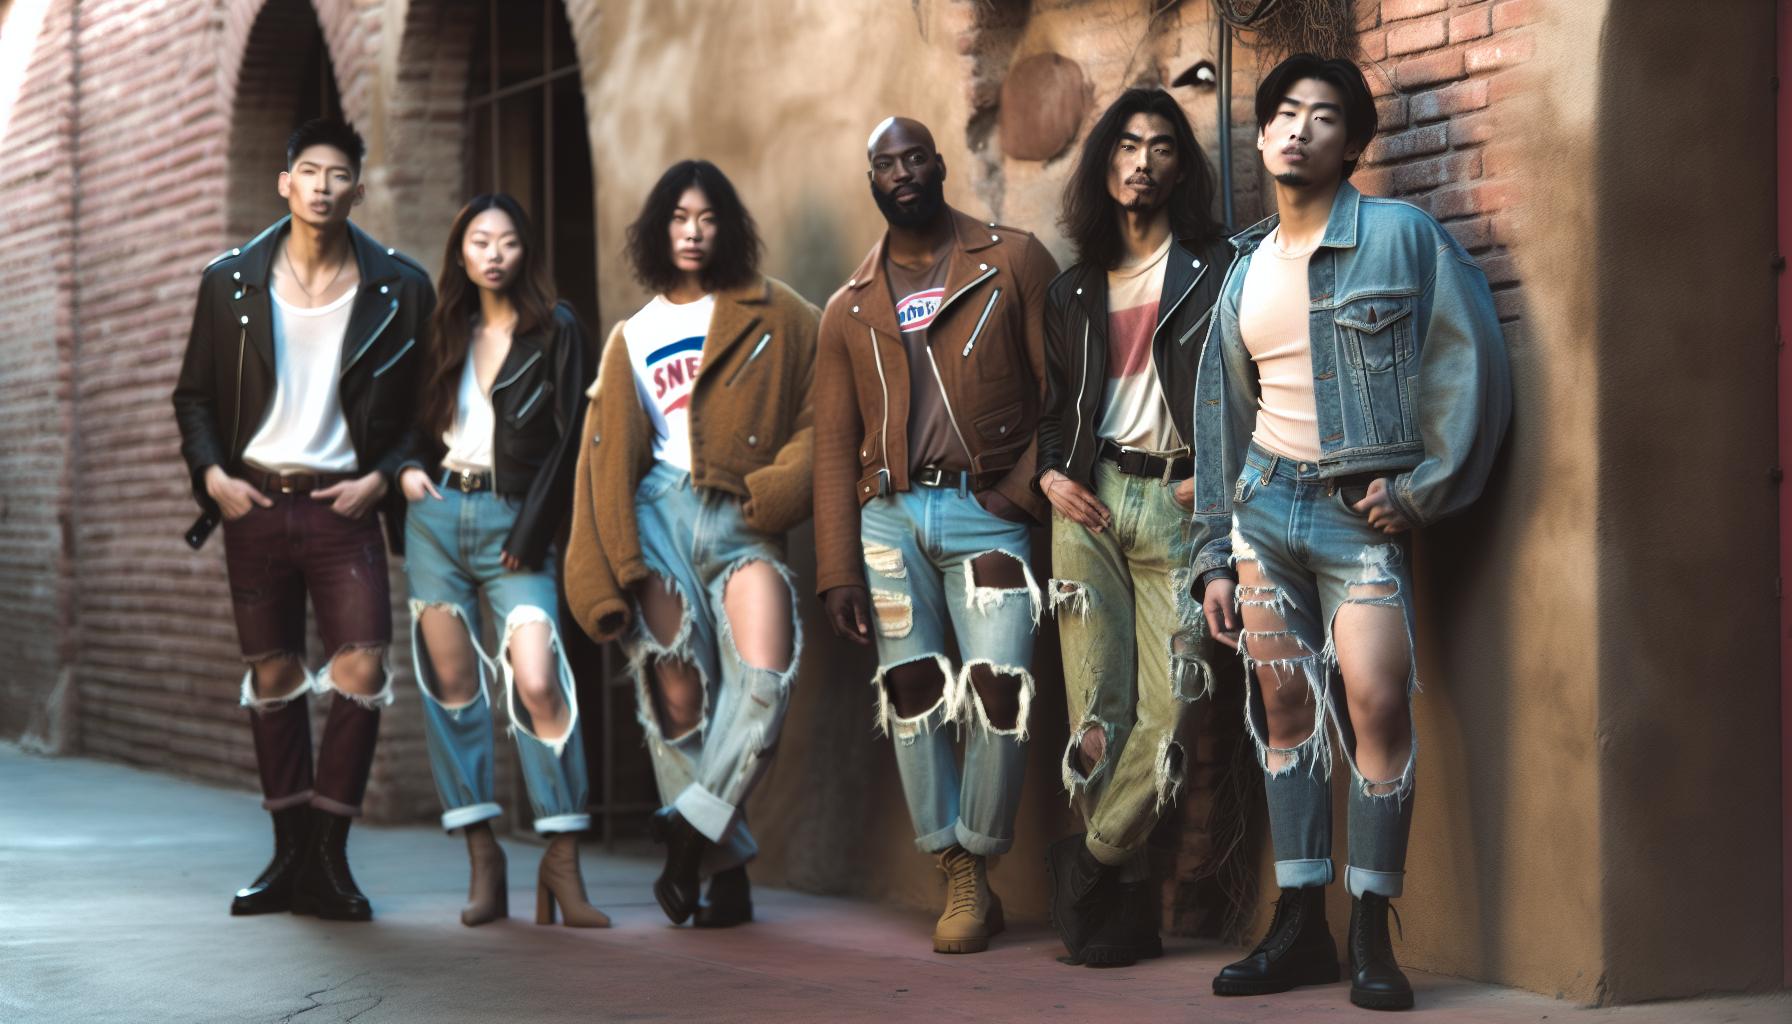
5 Trendy Distressed Styles You Can Create
Transforming a regular sweatshirt into a trendy, distressed piece is a fantastic way to elevate your casual wardrobe. With a little creativity and some basic DIY skills, you can achieve styles that are not only fashionable but also uniquely yours. Whether you’re attending a casual outing or just lounging at home, these five distressed looks will make your sweatshirt a standout piece.
One of the most popular styles is the distressed hem sweatshirt. By cutting the bottom of the sweatshirt unevenly and fraying the edges, you introduce a laid-back vibe that pairs beautifully with jeans or leggings. For an added flair, try incorporating slight side slits for a trendy asymmetrical look. Another eye-catching option is the cut-out shoulder design. Simply snipping off the neckline slightly and then cutting into the shoulder area gives a stylish off-the-shoulder effect that’s perfect for showing off layers while maintaining comfort.
If you’re feeling adventurous, the fringed sweatshirt is a fun, playful option. By cutting thin strips along the bottom hem and stretching them slightly, you create a playful fringe effect that bounces with movement. This style works exceptionally well when layered over a fitted tank top and paired with distressed jeans or shorts. For a more vintage aesthetic, consider a vintage crop style. Cropping the sweatshirt and adding distressing to the sides and collar provides a retro look that’s surprisingly versatile-dress it up with high-waisted trousers or down with your favorite joggers.
Lastly, embrace the art of blending techniques by adding embroidery or tie-dye to your distressed sweatshirt. Tie-dying can camouflage any imperfections while giving your sweatshirt a pop of color, making it a fashionable statement piece. Meanwhile, hand-stitched embroidery can turn your DIY project into a canvas of creativity, allowing you to express personal messages or designs that showcase your artistic flair.
By experimenting with these trendy styles, you not only refresh your wardrobe but also express your personal style. So grab your scissors, put on some tunes, and get ready to create a customized sweatshirt that’s all about you!
Mastering the Art of DIY Distressing Techniques
Transforming a simple sweatshirt into a stylish, distressed piece is an exciting way to infuse your fashion sense with creativity. Distressing techniques not only allow for a personal touch but also provide an opportunity to mend or repurpose an old favorite into something new. Mastering these techniques means you can achieve different looks, from subtly frayed to boldly cut-out, all while maintaining the comfort and coziness that sweatshirts are known for.
Essential Distressing Techniques
There are various methods you can employ to distress your sweatshirt effectively. Here are some popular techniques:
- Fraying Edges: Using a pair of scissors or a box cutter, gently cut the edges of your sweatshirt. Fraying can be done on hems, sleeves, or around the neckline to create a casual, worn-in look. For the greatest effect, wash the sweatshirt after cutting to allow the fibers to loosen and fray naturally.
- Rips and Holes: You can create strategic rips in your sweatshirt to enhance its distressed appearance. Start small and gradually increase the size of the rip, making sure to pull the threads for a more natural look. It’s essential to avoid overdoing it, as a few well-placed holes often look better than an overly shredded piece.
- Cut-outs: For a unique design, consider making cut-outs in specific areas like the shoulders or back. This technique allows layering with other garments beneath and adds an element of surprise to the outfit.
- Bleaching Techniques: Create a washed-out look by applying bleach in certain areas. Use a sponge or a spray bottle with diluted bleach to control intensity. Remember to wear gloves and work in a well-ventilated area to avoid skin irritation.
Adding Character
Once you’ve applied your distressing techniques, consider additional creative options like embroidery or tie-dye to enhance your sweatshirt’s appeal. Tie-dye offers a vibrant pop of color that complements frayed edges beautifully. You can also hand-stitch your embroidery to reflect personal styles or affirmations, rounding out your DIY project with a custom element that others will adore.
To truly embrace hoodie culture, remember that the goal here is to explore and have fun! Each cut and color choice is a reflection of your unique style. Take your time, experiment with different looks, and remember that there are no wrong outcomes-just more opportunities for self-expression. So grab that sweatshirt and get started on a journey of creativity that’s comfortable, stylish, and all your own!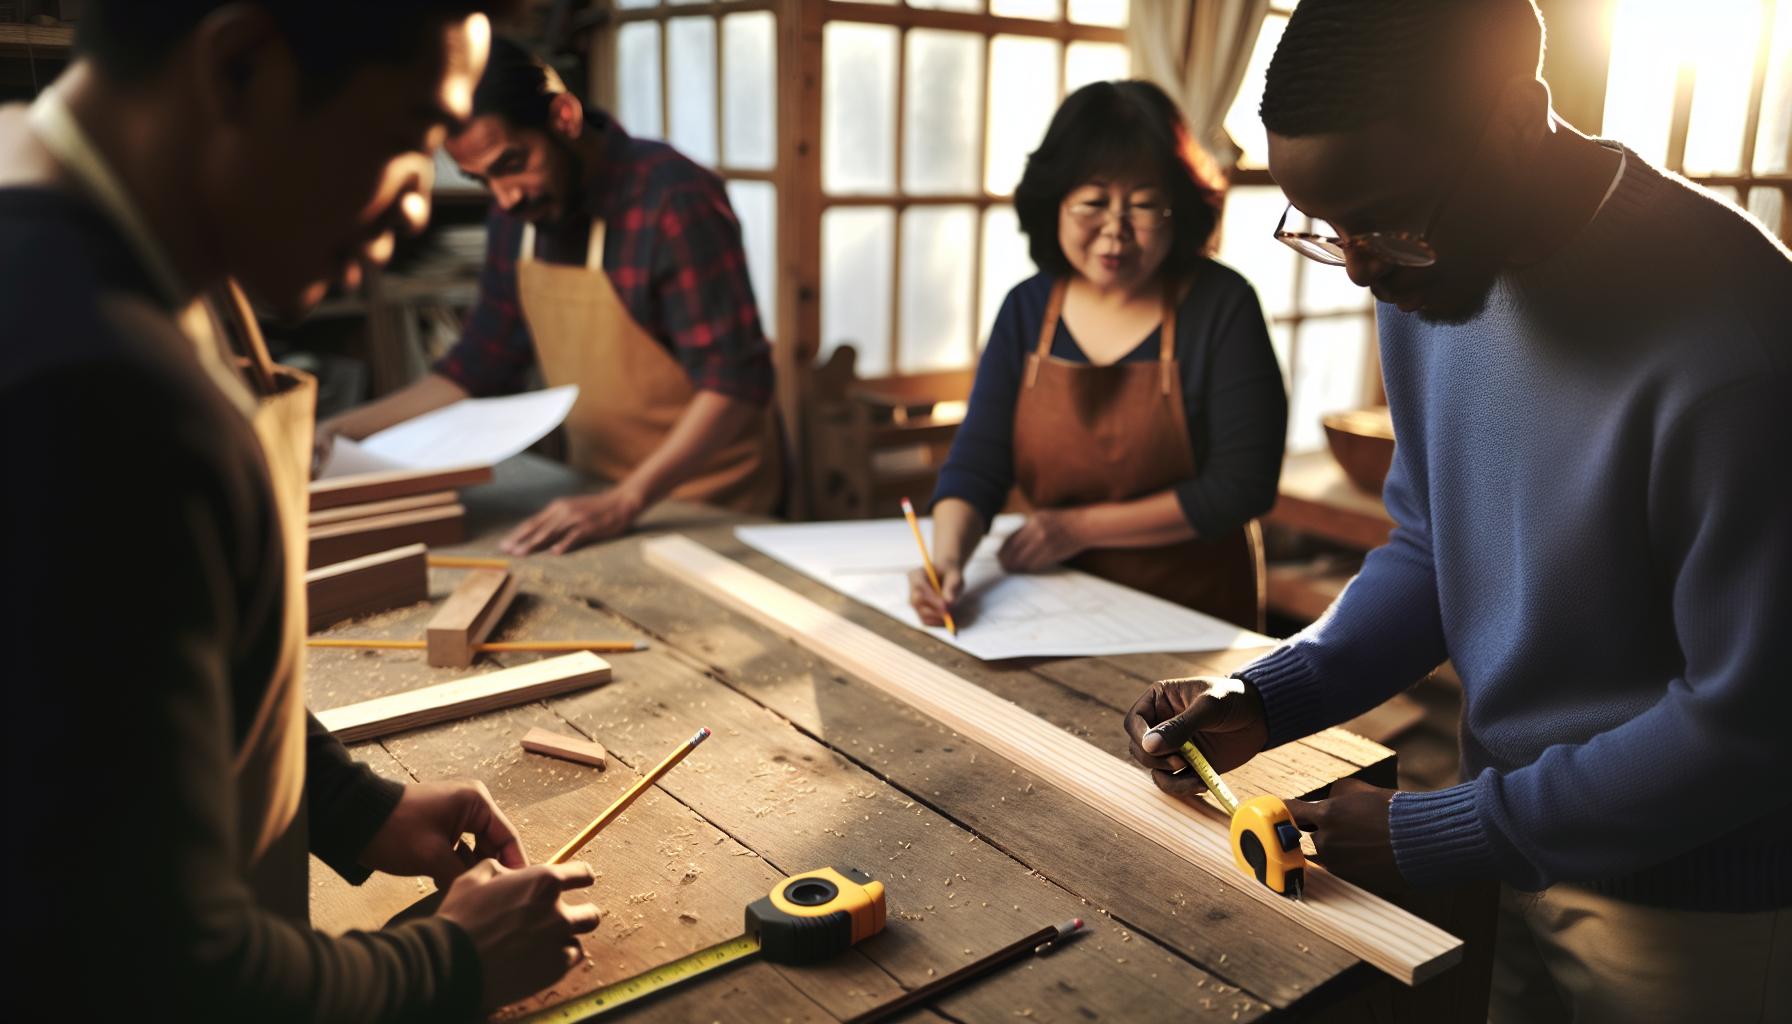
Tips for Measuring and Planning Your Cuts
Getting the measurements right before you start cutting into your sweatshirt is crucial for achieving a well-executed DIY project. When it comes to stylish and trendy distressed looks, precision in measurement allows for a balanced aesthetic without compromising the overall fit and comfort that sweatshirts are beloved for. Start by laying your sweatshirt flat on a clean, flat surface, ensuring that all seams are aligned. Take a tape measure and measure crucial areas where you plan to cut, such as the length of sleeves, the body, or neckline cuts. This step sets the foundation for a cohesive design that complements your individual style.
To avoid any surprises at the final reveal, mark your cuts lightly with a fabric chalk or a wash-out marker. This gives you a clear guide to follow, especially if you’re experimenting with bold designs like high-low hems or asymmetrical cuts. Consider using a ruler to ensure your lines are straight and even. For areas like cut-outs or distressed spots, a template can help, allowing you to replicate the design on both sides of the sweatshirt. Always remember that you can start small; you can always cut more, but you can’t put the fabric back once it’s gone!
It’s also wise to consider the type of sweatshirt fabric you’re working with. Thicker fabrics may require more force and sharper tools, while softer fabrics are prone to fraying. If you’re going for a distressed look, take into account how the fabric will change after washing-the material may shrink or stretch slightly, so factor that into your planning. Be adventurous but cautious; a well-planned cut today can lead to a stylish and functional hoodie for many wearings to come.
Lastly, don’t forget to check your measurements against your personal style. Are you looking for a loose, casual fit or something slightly more fitted? Take the time to try on your sweatshirt before making any final cuts to gauge how much length or material you might want to remove. This extra effort in planning will ensure that your DIY project not only embodies your creative expression but also stays true to that cozy, comfortable vibe that makes sweatshirts such a staple in our wardrobes.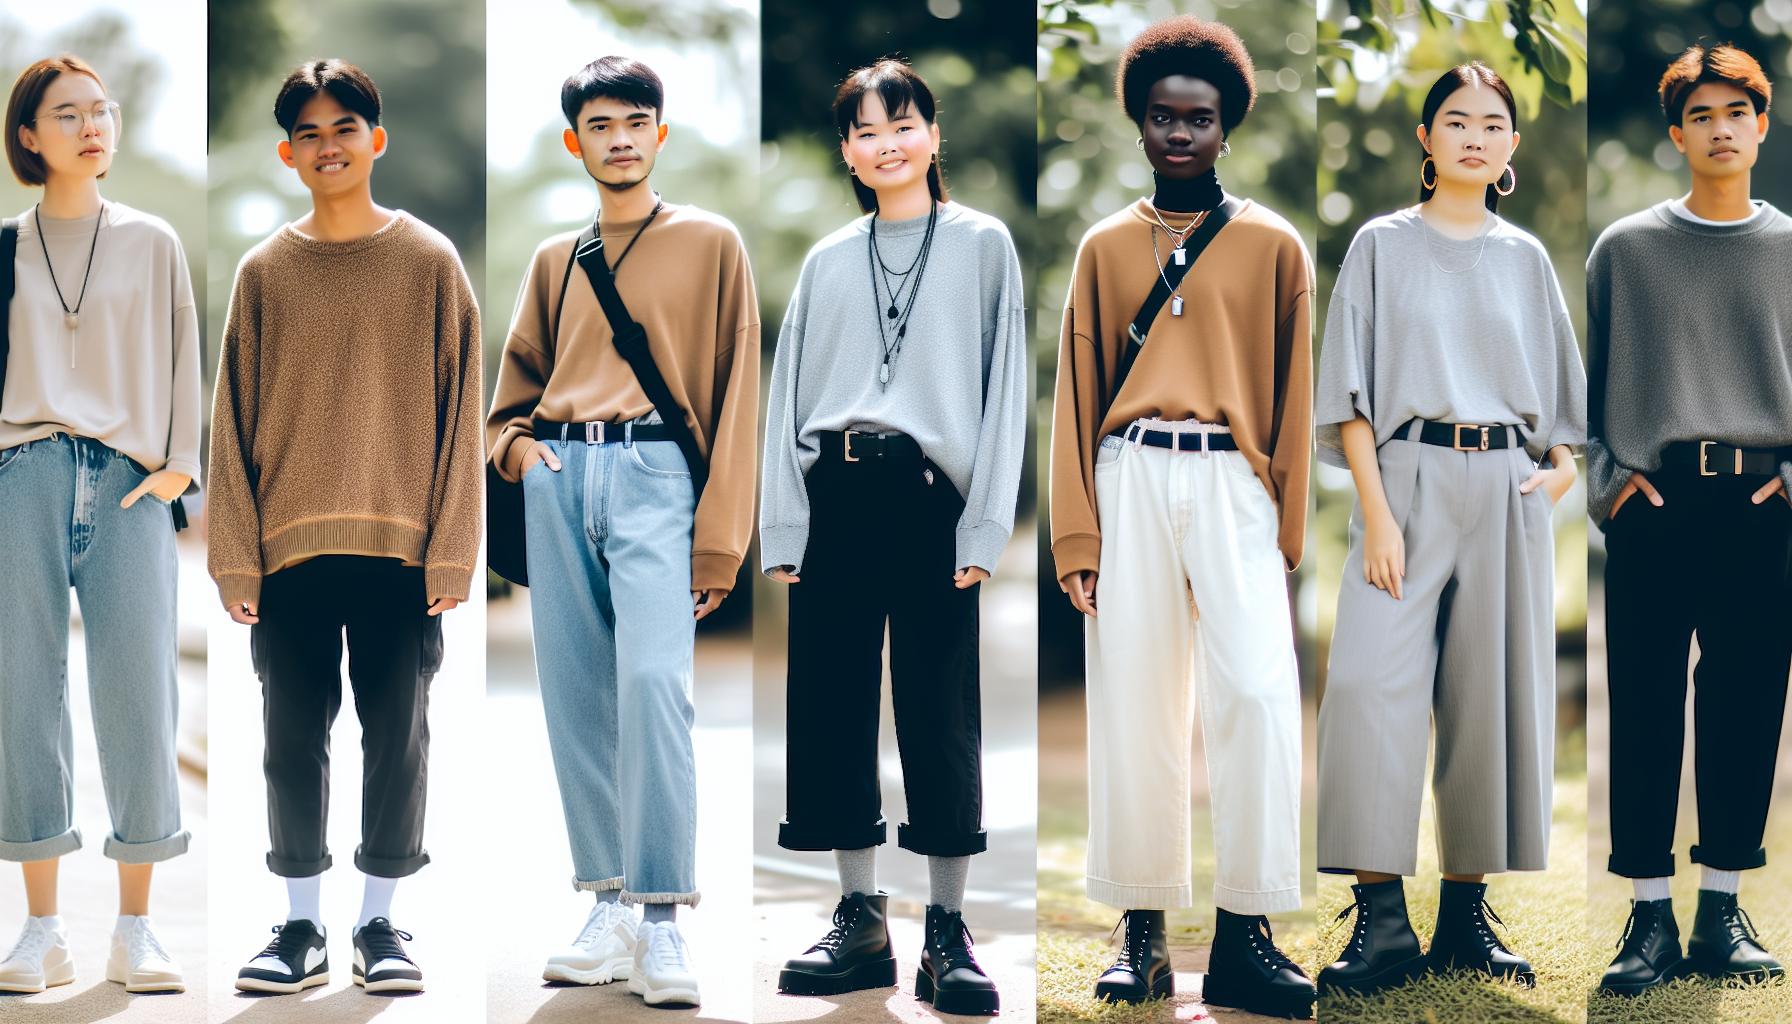
Style Your Distressed Sweatshirt: Outfit Ideas
The beauty of a distressed sweatshirt lies not only in its cozy comfort but also in its versatility as a fashion statement. With endless possibilities for styling, you can effortlessly integrate a DIY-cut sweatshirt into your wardrobe. Whether you’re heading to brunch, lounging at home, or planning a casual weekend outing, the right outfit can elevate your look while showcasing your personal flair. Here are some inspiring outfit ideas to help you rock your distressed creation.
Casual Chic
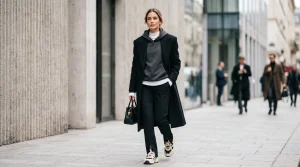
Pair your sweatshirt with high-waisted mom jeans for an effortlessly chic look. Finish the outfit with chunky sneakers or ankle boots to keep it comfortable yet stylish. Add a crossbody bag and some statement hoop earrings to enhance the overall vibe. This outfit is perfect for a day out shopping or catching up with friends over coffee.
Layer Up
For those chillier days, layer your distressed sweatshirt over a fitted turtleneck or a long-sleeve top. Opt for leggings or skinny jeans to balance the silhouette, and complete the look with a long cardigan or a denim jacket. A beanie and some oversized sunglasses will add an extra touch of cool, making this ensemble ideal for a relaxed weekend outing or a fun hike.
Sporty Vibes
Embrace a sporty aesthetic by teaming your sweatshirt with joggers or athletic shorts. Finish the look with sleek trainers and a baseball cap for a laid-back yet stylish ensemble. This outfit is great for running errands or enjoying a casual day at home. To amp up the style, consider adding a fanny pack worn crossbody or a stylish backpack.
Street Style Edge
Transform your sweatshirt into a streetwear statement by pairing it with a leather mini skirt or distressed denim shorts. Add sheer tights and combat boots to create an edgy vibe. Layer on a statement jacket, such as a bomber or oversized blazer, for added style points. This bold combination is perfect for an evening out or a music festival.
Regardless of how you choose to style your distressed sweatshirt, remember that accessories can enhance your look tremendously. Play with layering, textures, and colors to add depth to your outfit. And don’t shy away from customizing further with fun patches, embroidery, or even tie-dye techniques for a truly unique expression of your personal style. When it comes to comfortable wear, the possibilities are endless, and your creativity can truly shine!
Caring for Your Distressed Sweatshirt: Washing Tips
Taking care of your distressed sweatshirt not only keeps it looking fresh but also extends its life, allowing you to enjoy your DIY creation for many more seasons. Since these sweatshirts often feature unique cuts and designs, it’s essential to adopt a gentle approach when washing and maintaining them. Here are some practical tips to ensure your trusty hoodie remains as stylish and cozy as the day you transformed it.
To begin with, always check the care label before washing your sweatshirts. This simple step can provide specific instructions based on the fabric. Most distressed sweatshirts can be machine washed, but it’s best to turn them inside out to protect the exterior from friction and fading. Using cold water is key, as it helps preserve the colors and the distressed details you’ve worked so hard to create. Additionally, opt for a mild detergent to avoid any harsh chemicals that could harm the fabric.
When it comes to drying your sweatshirt, skip the tumble dryer. Instead, hang your sweatshirt to air dry, as this method significantly reduces the risk of shrinkage and damage to the distressing. If you need to speed up the process, laying it flat on a clean, dry towel is a safe option. Avoid direct sunlight to prevent colors from fading.
Stain Removal Strategies
Despite your best efforts, stains can still happen. To tackle them effectively, treat stains as soon as they occur. For oil-based stains, apply a dab of dish soap directly on the area, allowing it to sit for a few minutes before rinsing with cold water. For tougher stains like red sauce or wine, create a paste from baking soda and water, apply it to the stain, and let it sit for about 30 minutes before washing normally. This proactive approach helps maintain your sweatshirt’s aesthetic while keeping it looking brand new.
By following these washing and care tips, your distressed sweatshirt will continue to be a staple of comfort and style in your wardrobe. Remember, the goal is to keep it feeling soft and looking good so you can show off your unique DIY flair for years to come!
Creative Additions: Embroidery and Tie-Dye Techniques
Adding personalized touches to your sweatshirt can elevate your style while allowing for creative expression. With techniques like embroidery and tie-dye, you can transform a simple piece into a unique statement that reflects your individual taste. Whether you’re looking to revamp an old favorite or customize a new find, these creative additions are perfect for making your sweatshirt truly yours.
Embroidery is a fantastic way to incorporate intricate designs and textures into your sweatshirt. You can start with simple motifs, such as flowers or geometric shapes, which are beginner-friendly and add depth to the fabric. Choose threads in contrasting colors for a striking effect, or opt for monochromatic tones for a subtle touch. If you don’t own an embroidery machine, hand-stitching can be a meditative process that gives your work a personal flair. Consider using embroidery hoops to keep your fabric taut while you work, ensuring neat and even stitches. For added dimension, try layering different stitches-like satin stitches for filling and backstitches for outlines-to create a rich visual texture.
Tie-dye, on the other hand, is all about vibrant colors and spontaneity. This fun and user-friendly technique allows you to explore endless possibilities, from classic spiral designs to more complex patterns like crumpling or folding techniques. Before diving into the dyeing process, select fabric dyes appropriate for the material of your sweatshirt-fiber-reactive dyes work well for cotton blends. To achieve the best results, soak your sweatshirt in a saltwater solution prior to dyeing, which helps the colors set more effectively. After applying the dye, don’t forget to wrap your sweatshirt in plastic wrap and let it sit for several hours, allowing the color to set fully. Rinse with cold water until it runs clear, and you’ll unveil a stunning piece that stands out.
Incorporating embroidery and tie-dye into your DIY sweatshirt project not only showcases your individual style but also makes for a fun and rewarding creative endeavor. Experiment with different patterns, colors, and designs to develop a piece that’s not just an item of clothing but a canvas for your artistic expression. Your refreshed sweatshirt will not only serve as a cozy staple but will also be a unique reflection of you, ready to be styled with confidence in any casual setting.
Common Mistakes to Avoid When DIYing Distressed Styles
Distressing a sweatshirt can turn a basic piece into a trendy fashion statement, but the process can be fraught with pitfalls. Avoiding common mistakes is crucial to achieving the look you desire without ruining your favorite hoodie. One key mistake is failing to plan your cuts and tears. Before grabbing those scissors, take a moment to visualize and sketch out your design. This way, you can avoid asymmetrical patterns or odd placements that might make your sweatshirt look unintentional. Remember, distressing is meant to look effortless, but that doesn’t mean it shouldn’t have some level of forethought behind it!
Another typical blunder is overdoing it. A little distressing goes a long way, and sometimes less is truly more. When applying cuts or frays, start with minimal alterations; you can always add more later if you feel it’s necessary. This approach not only preserves the integrity of the fabric but also keeps your piece looking stylish rather than overly worn-out. Pay attention to fabric type, too: thicker materials can handle more aggressive cuts, while lighter fabrics may require a gentler touch to avoid excessive unraveling.
Mismatched distressing is another error to watch out for. When adding cuts, holes, or frays, consider how they align with the overall aesthetic of the sweatshirt. An accidental over-concentration of distressing on one side can create an uneven look that detracts from the intended style. Instead, aim for a balance across the garment and integrate various distressing techniques, like fraying, shredding, and subtle cuts, to enhance its uniqueness.
Lastly, don’t forget about care after your hands-on makeover! New DIY distressing can take some adjustment to care for properly. When washing your newly altered sweatshirt, always turn it inside out and use cold water to maintain the integrity of your cuts and prevent excessive fraying. Always air dry instead of using a dryer, which can exacerbate wear and distort the shape. With these tips in mind, you’ll be well on your way to showcasing your fashionable, customized sweatshirt without the unnecessary hassle of avoidable mistakes.
Show Off Your Style: Share Your DIY Creations
Sharing your DIY sweatshirt creations can be a rewarding and inspiring experience, not just for you but also for others in the crafting community. Showcasing your customized pieces on social media or in personal blogs helps you connect with fellow fashion enthusiasts and encourages others to embrace their creative side. You might find that your unique take on the classic sweatshirt becomes a source of inspiration for others looking to put their own spin on this comfortable staple.
To effectively share your creations, consider using platforms that cater to creative content, such as Instagram, Pinterest, or TikTok. Start by taking high-quality photos of your finished sweatshirts in varied lighting to highlight the details of your distressing techniques. Aim for a mix of close-ups and full-body shots that show off how you’ve styled your piece with accessories or coordinating outfits. Engaging captions that explain your creative process, choice of cuts, or the inspiration behind the design can elevate your posts, drawing in viewers and encouraging them to try their own DIY projects.
Hosting a small gathering or an online event focused on DIY fashion can also be a great way to share ideas. Invite friends to bring their own sweatshirts for a fun day of customizing. Document the process by taking photos or videos, then compile them into a tutorial for your blog or social media. Sharing tips such as your favorite distressing techniques or customizations like tie-dye or embroidery not only builds a community spirit but also allows others to benefit from your experience.
Finally, don’t shy away from participating in crafting workshops or online forums. Platforms like Facebook groups or Reddit have vibrant DIY communities where you can share your garments, get feedback, and explore new ideas for customization. Engaging in discussions about care tips, stains removal, or creative projects can help solidify your standing as a knowledgeable resource in the hoodie culture, making your personal creations all the more meaningful as you contribute to the collective love for personalized fashion.
FAQs about Cutting and Distressing Sweatshirts
When diving into the world of sweatshirt customization, many enthusiasts find themselves with a slew of questions about the process of cutting and distressing their garments. Here’s a concise guide to some of the most frequently asked questions regarding this creative and rewarding DIY journey.
One of the most common inquiries is about how to choose the right sweatshirt for distressing. Ideally, you’ll want to pick a sweatshirt made from soft, breathable fabric like cotton or a cotton-blend, as these materials are easier to manipulate and give you that coveted vintage feel. Additionally, the weight of the fabric plays a crucial role; heavier fabrics can hold up better during the distressing process, while lighter fabrics may be more comfortable and flowy.
Another key concern often involves the tools and techniques for cutting. A sharp pair of fabric scissors is essential for clean cuts and minimizing fraying. For more intricate designs, consider using a rotary cutter or craft knife alongside a cutting mat. Regarding techniques, remember that less is often more-start with subtle cuts and small elements of distressing, allowing you to assess your progress before going all out. Practice on an old, unwanted sweatshirt first to hone your skills without the stress of ruining your intended piece.
Caring for your newly distressed sweatshirt is just as important as the creation process. Many wonder how to effectively wash their customized pieces without sacrificing the integrity of their designs. A cold wash cycle is generally recommended, along with air drying to prevent damage from heat. For stains, spot cleaning with mild detergent is often sufficient, but for persistent marks, consider a gentle soak before laundering.
Lastly, if you’ve ever considered incorporating embroidery or tie-dye techniques into your sweatshirt designs, you’re in for a treat! These creative additions can elevate your DIY pieces even further. Using embroidery patches or freehand designs adds a unique touch, while tie-dye can infuse vibrant colors into your distressed piece. Just ensure to let any dye completely set before washing to avoid bleeding colors.
Embrace your creativity and confidently tackle your DIY sweatshirt projects! Each custom piece tells a story, showcases your style, and encourages a deeper connection within the hoodie culture.
Faq
Q: What is the best type of sweatshirt for DIY distressing?
A: The best type of sweatshirt for DIY distressing is one made of 100% cotton or a cotton-blend fabric. These materials are easier to manipulate and achieve a softer, more worn look, making them ideal for cuts, frays, or other trendy distressing techniques.
Q: How can I safely cut a sweatshirt without ruining it?
A: To safely cut a sweatshirt, lay it flat and use sharp fabric scissors for clean edges. Plan your cuts carefully, starting small, and make sure to measure before cutting to avoid any mistakes. These tips can be found in the “Tips for Measuring and Planning Your Cuts” section of your article.
Q: Can I use a sewing machine after cutting my sweatshirt?
A: Yes, using a sewing machine after cutting can help secure loose threads. Consider using a zigzag stitch to prevent fraying and keep the edges looking polished. You might want to check the “Caring for Your Distressed Sweatshirt: Washing Tips” section for more on maintenance.
Q: What should I do if I’ve made a mistake cutting my sweatshirt?
A: If you make a mistake cutting, you can often fix it with creative patches, embroidery, or re-stitched seams. Embrace imperfections as part of the DIY charm! Refer to the “Common Mistakes to Avoid When DIYing Distressed Styles” for more insights.
Q: How do I style a distressed sweatshirt for different occasions?
A: To style a distressed sweatshirt, pair it with high-waisted jeans for a casual look or a denim skirt for a chic vibe. Layer with a blazer for a more polished outfit. For more outfit ideas, explore the “Style Your Distressed Sweatshirt: Outfit Ideas” section of your article.
Q: Can I add embellishments to my distressed sweatshirt?
A: Absolutely! Adding embellishments like embroidery, patches, or tie-dye can enhance your sweatshirt’s style. This is a great way to express your personality. Check out the “Creative Additions: Embroidery and Tie-Dye Techniques” section for inspiration.
Q: When is the best time to wash my distressed sweatshirt?
A: Wash your distressed sweatshirt after every few wears to keep it fresh, but avoid harsh detergents and opt for cold water. This helps preserve the distressed effects. More washing tips can be found in the “Caring for Your Distressed Sweatshirt: Washing Tips” section.
Q: How do I prevent my sweatshirt from fraying too much?
A: To prevent excessive fraying, apply fray-check on cut edges or use a sewing machine for a secure finish. Keeping the sweatshirt’s fabric intact is key to maintaining its shape and style. Explore “Mastering the Art of DIY Distressing Techniques” for more advice.
In Summary
Congratulations on transforming your sweatshirt into a trendy masterpiece! Whether you opted for a classic distressed look or something more adventurous, you’ve taken the first step towards a stylish and personalized wardrobe. Remember, the key to rocking your new design is in how you wear it-pair it with your favorite jeans or layer it with a chic jacket for a complete casual look.
Ready to elevate your DIY skills further? Explore our guides on styling tips for hoodies, techniques for creating stunning tie-dye effects, and essential care guides to keep your casual wear in top shape. Don’t forget to check out our resources on stain removal techniques, ensuring your hard work stays pristine!
Join our community by signing up for our newsletter to stay updated on the latest DIY trends and offers. Have questions or want to share your creations? We’d love to hear from you in the comments below! Your journey into DIY customization doesn’t end here-let’s keep the creativity flowing!
Cutting a Sweatshirt: Raw Hem, Distressed Neck, & Slashed Sleeves
Whether upcycling an oversized thrift find or transforming a dated corporate promotional pullover, cutting a swestdhirt (correctly searched as cutting a sweatshirt) is the quickest DIY customization to elevate your wardrobe:
| Distressed Style | Cutting Technique | Best Fabric Weight | Finished Aesthetic |
|---|---|---|---|
| Raw-Edge Cropped Boxy | Straight horizontal cut across torso 1″ below ribcage | Heavyweight 350+ GSM Fleece | Modern high-waisted street silhouette; hem curls inward |
| Off-the-Shoulder 80s Slouch | Cut collar ribbing just outside the seam stitch line | Midweight 280 GSM French Terry | Flashdance slouch; reveals tank straps and collarbone |
| V-Notch Ribbing Slash | Small 2-inch central vertical triangular snip at collar | Any Cotton Crewneck | Subtle vintage athletic collegiate neckline opening |
| Muscle Tank Cutoff | Remove sleeve seam armscyes down to low ribs | Lightweight Heather Fleece | Casual gym layer showcasing sports bras or under-layers |
Fabric Shears vs Rotary Cutters and Natural Curl Mechanics
Pro-tips for clean DIY garment cutting:
- Never Use Paper Scissors: Dull household paper scissors chew through knit fleece, leaving ragged jagged bite marks. Always invest in 8-inch dressmaker shears or a rotary blade on a self-healing mat.
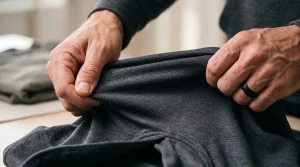
- The Tension Tug: Immediately after cutting, grasp the raw edge between both hands and pull firmly along the cross-grain. The natural stretch tension forces the cut knit loops to roll inward into a uniform finished bead.
Get our latest guides, news, and insights highlighted in your Google Search & AI Overviews.