✨ This article was AI edited. Editorial responsibility: CoolestHoodies.com.
Produced with AI. This article was artificially generated. Editorial responsibility: CoolestHoodies.com.
How to fix a hoodie zipper? You can fix a broken hoodie zipper by tightening widened slider plates with pliers, aligning separated teeth with a graphite pencil lubricant, repairing split insertion pins with fabric resin, or replacing worn zipper sliders from the top stop.
Common Hoodie Zipper Failures: Anatomy of the Mechanism
A failing zipper is one of the most frustrating apparel mishaps. Whether you are dealing with a favorite heavy vintage fleece jacket or a brand-new designer streetwear hoodie, a malfunctioning zipper renders the garment practically unwearable. In most instances, people assume a broken zipper requires discarding the sweatshirt or paying $30+ at a dry cleaner for a full zipper replacement.
In reality, more than 80% of all zipper breakdowns are caused by minor mechanical distortions in the slider body or simple track misalignment, not destroyed teeth. Zippers operate on strict mechanical tolerances: as the slider travels up the track, its internal diamond-shaped wedge forces opposing plastic or metal teeth to mesh together at an exact angle. Understanding which component has drifted out of alignment allows you to fix your hoodie in five minutes with common household tools.
Zipper Failure Diagnostic Matrix
Use this diagnostic table to identify the root cause of your zipper problem and the immediate corresponding repair technique:
| Symptom Observed | Mechanical Root Cause | Recommended Fix | Required Tools |
|---|---|---|---|
| Track separates behind slider | Slider body plates have bent outward from internal tension | Gentle crimping with pliers to restore internal channel gap | Needle-nose or slip-joint pliers |
| Slider is completely stuck / jammed | Fabric trapped in slider jaws or dry, unlubricated teeth | Graphite pencil / soap lubrication and reverse fabric tension | #2 Pencil, liquid dish soap, tweezers |
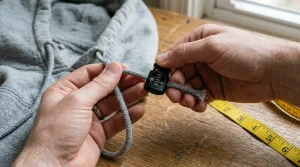
| Broken or snapped pull tab | Cast metal fatigue on the puller loop | Install replacement metal pull tab or temporary key ring | Small key ring, paper clip, or universal pull tab |
| Bottom insertion pin frayed / splitting | Peeling plastic reinforcement at base of separating zipper | Resin or super glue clamp to rebuild rigid insertion guide | Clear cyanoacrylate glue, wax paper, flat pliers |
| Missing teeth near top or bottom | Physical shear failure of plastic coils or metal teeth | Move top stop down below the missing tooth zone | End-cutting nippers, replacement brass stop |
Method 1: Fixing a Zipper that Separates (The Pliers Technique)
This is by far the most common zipper issue. You pull the zipper up, but the track behind the slider splits completely open, leaving both sides disconnected:
- Diagnose the Slider Distortion: Inspect the slider from the side. You will notice a top plate and a bottom plate connected by a central post. Over hundreds of zips, the rear opening where the joined teeth exit widens by fractions of a millimeter. When this gap expands, the slider no longer exerts enough compressive force to lock the teeth together.
- Position the Slider: Slide the puller all the way down to the bottom of the hoodie track so both garment sides are fully disengaged.
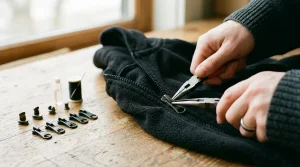
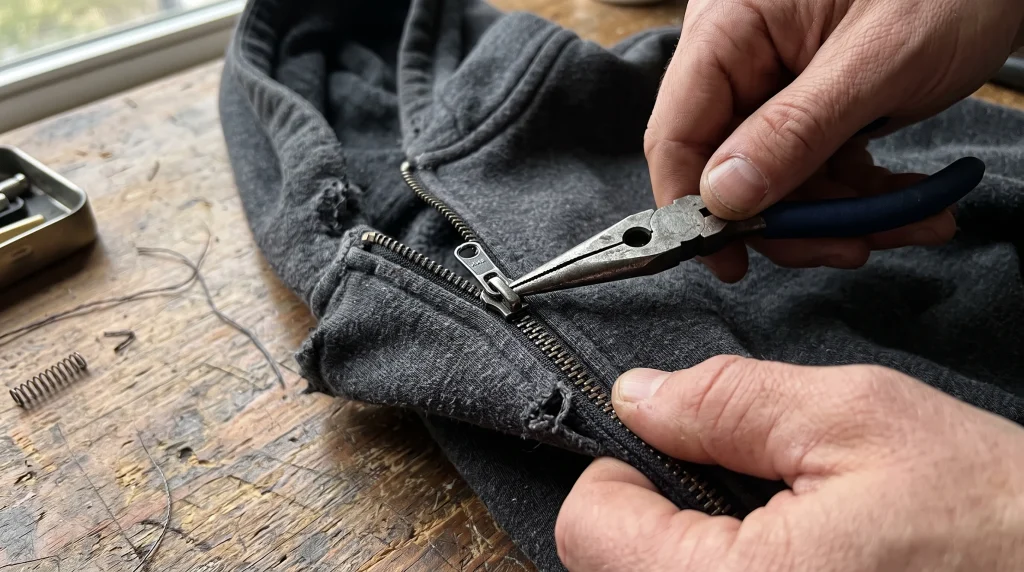
- Apply Controlled Crimp: Take a pair of needle-nose or smooth-jaw pliers. Grip the rear end of the slider plate (one side of the channel at a time). Apply gentle, incremental squeezing pressure.
- Caution: Never squeeze with maximum force or pinch across the center bridge, or you will snap the brittle cast zinc metal. Squeeze lightly, test the zipper by pulling it up 2 inches, and apply another micro-squeeze if the teeth still separate.
- Repeat on the opposite side until the slider locks the teeth seamlessly.
Method 2: Unjamming a Stuck Slider (Safe Lubrication)
When a slider refuses to budge, forcing it with all your strength will rip the cotton fabric or shear teeth off the tape:
- Check for Trapped Cotton: Look inside the throat of the slider. In 90% of sudden jams, a tiny fold of interior cotton fleece has been sucked into the teeth.
- Apply Reverse Tension: Grasp the trapped fabric with your fingers and pull it firmly downward and away from the slider, while gently wiggling the zipper puller backward (downward) millimeter by millimeter.
- Dry Lubrication (The Pencil Trick): If no fabric is trapped and the teeth are simply sticking, rub the tip of a soft #2 graphite pencil along the teeth above and below the slider. Graphite is a natural dry lubricant that coats metal and plastic without staining cotton.
- Wet Lubricant Alternative: If graphite is insufficient, apply a small dab of clear bar soap, lip balm, or liquid dish soap directly to the stuck teeth with a cotton swab. Wiggle the slider back and forth until it slides smoothly over the lubricated zone.
Method 3: Rebuilding a Frayed Bottom Insertion Pin
On separating zip-up hoodies, the small plastic-reinforced pin at the bottom left must insert cleanly into the right retainer box. When this pin frays, the zipper cannot start:
- Clean the frayed pin with rubbing alcohol to remove dirt and oils.
- Smooth any stray polyester or cotton threads flat against the pin.
- Apply a single drop of clear cyanoacrylate (super glue) or clear nail polish along the length of the frayed pin.
- Wrap a small piece of wax paper around the pin and clamp it flat with pliers for 2 minutes while the glue hardens into a rock-solid, smooth plastic casing.
- Once dry, peel off the wax paper and use a fine nail file or sandpaper to smooth down any rough edges so the pin clicks effortlessly into the retainer box.
Method 4: Replacing a Broken Zipper Slider Entirely
If the slider is cracked in half or worn beyond repair, you can install a fresh replacement without unstitching the entire zipper:
- Check Slider Size: Look at the flat underside of your broken slider. You will see an embossed number (usually 3, 5, or 8), representing the millimeter width of the teeth. Purchase a matching replacement slider (e.g., #5 Vislon for plastic teeth, #5 Metal for brass/nickel).
- Remove the Top Stop: Using small pliers or end nippers, gently pry off the tiny metal clamp (top stop) located at the very top of the zipper track near the collar.
- Slide Off Old Slider: Pull the old broken slider off the top of the track.
- Install New Slider: Slide the new slider onto the track teeth, orienting the narrow nose pointing down toward the hem.
- Re-Crimp Top Stop: Clamp a fresh replacement top stop (or sew several tight loops of heavy thread around the top teeth) to prevent the new slider from sliding off the track.
Preventive Care to Extend Hoodie Zipper Lifespan
Protect your zipper hardware from premature failure by practicing these simple laundering habits:
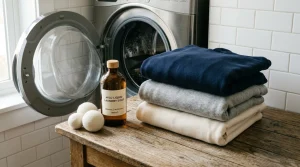
- Always Zip Up Before Laundering: Leaving your hoodie unzipped in the washer allows the metal teeth to scrape against the machine drum and snag on other garments, bending the slider plates.
- Turn Inside Out: Washing inside out protects the painted finish on metal pullers and prevents zipper teeth from abrading adjacent delicate clothing.
- Air Dry Whenever Possible: High dryer temperatures degrade the plastic reinforcement tape at the bottom insertion box, causing the pin to peel and fray prematurely.
Frequently Asked Questions About Hoodie Zippers
Can you fix a zipper that has missing teeth in the middle?
Unfortunately, if teeth are missing in the middle of a separating jacket track, individual replacement teeth cannot be re-crimped reliably. In this scenario, replacing the full zipper track is the only permanent solution.
What can I use as a temporary replacement for a broken pull tab?
A small metallic key ring, a heavy-duty paperclip, or a loop of nylon paracord threaded through the slider hole functions as a highly durable and functional temporary pull tab.
Why do two-way double-slider hoodies get stuck so easily?
Two-way zippers require both the upper and lower sliders to be pushed completely together at the bottom stop before the insertion pin is seated. If the pin is only partially inserted through the first slider, the track will jam instantly.
Get our latest guides, news, and insights highlighted in your Google Search & AI Overviews.