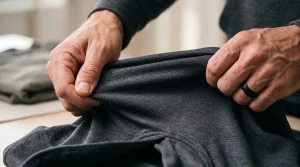
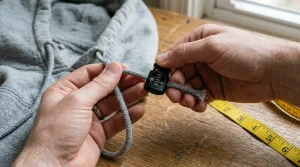
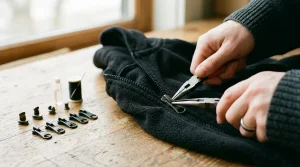
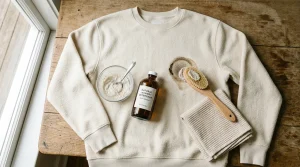
How to remove hood from sweatshirt? You can remove the hood from a sweatshirt by using a seam ripper on the interior neckline to detach the hood from the collar seam, trimming the raw edge neatly, and finishing with ribbed knit binding or a stay-stitched rolled hem.
Did you know that a simple hoodie can be transformed into a stylish pullover by removing its hood? Whether you’re looking to refresh your favorite piece or customize a new buy, learning how to remove a hood can empower you to unlock new possibilities for your wardrobe. This tutorial will guide you through the process step-by-step, making it easy and approachable, even for sewing novices. By the end, you’ll not only breathe new life into your hoodie but will also gain the confidence to revamp other pieces in your collection. Embrace the spirit of DIY and join us in discovering how to take your hoodie game to the next level!
How to Remove the Hood from Your Hoodie
Removing the hood from your hoodie may seem like a daunting task, but with careful planning and a bit of creativity, you can transform your favorite garment into a new style statement. Many people consider this alteration to refresh their wardrobe or adapt a hoodie they no longer wear due to its hood. Armed with the right mindset and some simple techniques, you can take on this project and give your hoodie a unique twist.
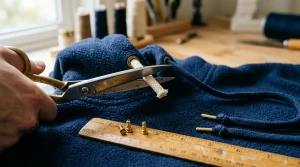
Start by laying your hoodie flat on a clean surface, ensuring that it’s free of wrinkles. This will give you a better view of the seams where the hood is attached. Before cutting anything, it’s wise to try the hoodie on to gauge how you want it to look after the alteration. Next, using a pair of fabric scissors, carefully cut along the seam connecting the hood to the neckline. Aim for a clean line, taking care not to damage the body of the hoodie as you cut. If you’re concerned about making uneven cuts, you might want to use pins to hold the fabric in place while you work.
Finishing Touches
Once the hood is removed, you will have raw edges where the fabric was cut. To ensure your hoodie looks polished, you can use a sewing machine to finish these edges with a zig-zag stitch or a bias tape. This will prevent fraying and give a neater appearance. For those who prefer a no-sew option, fabric glue or no-sew hem tape is a great alternative to secure the edges without the hassle of a machine.
If you’re feeling creative, consider upcycling the hood into trendy accessories, like a headband or a small pouch. The possibilities are endless! Delve into this DIY adventure with confidence, and enjoy the process of personalizing your style through clothing alterations.
Essential Tools You’ll Need for Hoodie Alterations
To successfully remove the hood from your hoodie, having the right tools can make all the difference. Before diving into your alteration project, gather a few essential items that will ensure a smooth process and a professional look once you’re done. Just like having the perfect pair of sneakers enhances your outfit, the right tools can elevate your DIY hoodie transformation!
Start with a good pair of fabric scissors. These are crucial for making clean cuts along the seams. Regular scissors may fray the fabric or create uneven edges, so invest in some sharp fabric scissors, which are specifically designed for this purpose. Alongside the scissors, you’ll want a seam ripper for any delicate areas or if you’re dealing with stitched down hoods. This tool allows you to carefully remove stitches without damaging the surrounding fabric.
In addition to cutting tools, consider having some pins or fabric clips on hand. These help hold fabric in place while cutting, ensuring that your hoodie doesn’t shift unexpectedly. If you prefer a no-sew method for finishing edges, fabric glue or no-sew hem tape is essential. Both options allow you to secure edges neatly and simply, providing a polished finish. Lastly, a sewing machine will come in handy for those looking to sew finished seams, and a few basic spools of thread in colors that match your hoodie will allow you to seamlessly complete the look.
- Fabric Scissors: For precise, clean cuts.
- Seam Ripper: To remove any stitches without harm.
- Pins or Fabric Clips: To hold fabric securely in place.
- Fabric Glue or No-Sew Hem Tape: For easy edge finishing.
- Sewing Machine: To sew finished seams for a professional look.
- Thread: In matching colors for stitching.
With these tools in hand, you’ll be well-equipped to engage in your hoodie alteration adventure. Embrace the creativity of customizing your wardrobe, and enjoy the process of making your hoodie truly your own!
Step-by-Step Guide to Detaching the Hood
To detach the hood from your hoodie, follow a careful and methodical approach to ensure a clean transformation. Begin by laying your hoodie flat on a sturdy surface. This will allow you to see the seams clearly and prevent any accidental cuts. Start by examining how the hood is attached; typically, it’s sewn along the neckline. Utilize your seam ripper to carefully unpick the stitches connecting the hood to the body, being cautious to avoid damaging the fabric. It’s important to work slowly and methodically, as rushing can lead to fraying or tearing.
Once you have removed the stitches, gently pull the hood away from the body of the hoodie. You may encounter some residual threads; trim these with your fabric scissors to achieve a neater finish. As you detach the hood, keep an eye on how the edges look. If your hoodie has a double-layered neckline, it might require a bit of extra trimming along the inside seams to ensure it looks polished after the alteration. Aim to leave about a quarter-inch seam allowance if you plan to finish the edges later.
After you’ve detached the hood, assess the neckline. Depending on your design, you can choose to leave it raw, hem it for a cleaner look, or even add a new detail, such as a ribbed band or lace. If opting for a no-sew finish, apply your fabric glue or no-sew hem tape along the edge, pressing it down firmly to ensure it adheres well. For a sewn finish, stitch along the edge using a sewing machine or by hand, making sure to backstitch at either end for added durability.
Taking the time to follow each of these steps will not only enhance the aesthetics of your hoodie but also give it a unique, customized flair. Enjoy your newly transformed piece, and remember, the world of hoodie customization is full of creative possibilities!
Tips for Seamlessly Finishing the Hoodie Edges
When it comes to customizing your hoodie, finishing the edges post-hood removal is crucial for achieving a polished and professional look. A well-finished neckline not only enhances the overall aesthetic but also ensures the longevity of your garment by preventing fraying. Here are some practical tips to help you navigate this important step like a pro.
First, consider your finishing options. A simple way to achieve a clean look is by using a sewing machine to create a hem. Start by folding the raw edge of the fabric inward (about half an inch), and pin it in place. Then, sew along the folded edge, making sure to backstitch at the beginning and end for added security. If you prefer a more casual finish, you might choose to use fabric glue or hem tape. This no-sew option is great for those who may not have sewing experience. Just apply the glue or tape along the edge, press firmly, and allow it to dry according to the product instructions.
Another creative angle is to incorporate decorative elements into your finishing touches. For example, you could sew on a contrasting ribbed band to your neckline for a trendy, sporty look. Alternatively, adding lace or an embroidered patch can give your hoodie a unique twist and make it stand out in your wardrobe. Don’t hesitate to experiment with different finishes to reflect your personal style!
Lastly, to maintain the quality of your newly modified hoodie, proper washing and care are essential. Always turn your hoodie inside out before washing to protect the edges you’ve just finished. Use a gentle cycle with cold water and avoid harsh detergents that could deteriorate the fabric and the new edges. Following these tips, you’ll transform your hoodie not just into a unique piece of clothing but a cherished part of your casual wear collection!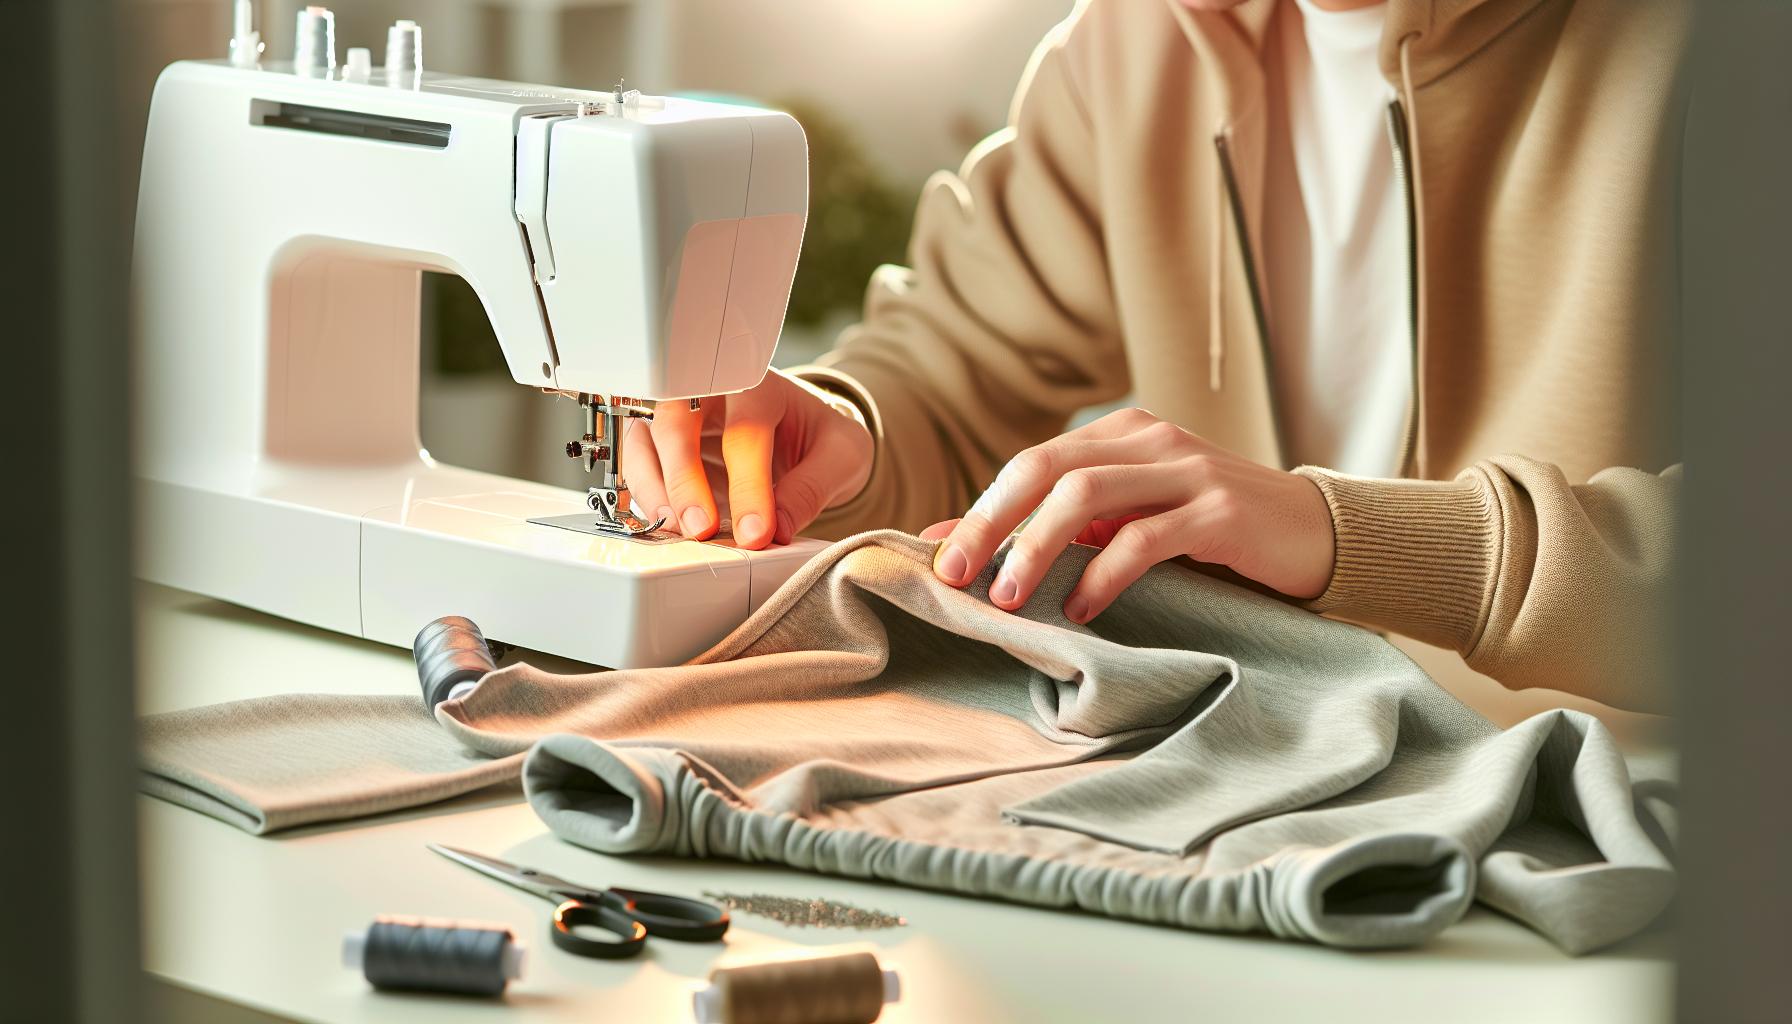
Alternative Styles: Transforming Your Hoodie Look
Transforming your hoodie into a stylish piece of your wardrobe goes beyond simply removing the hood. With a little creativity and effort, you can repurpose your hoodie to suit various fashion needs while maintaining that comfortable vibe we all love. Consider the distinct charm that a hoodless design can bring; it opens the door to endless styling options, allowing you to pair your modified hoodie seamlessly with other clothing items.
One of the most enjoyable ways to reimagine your hoodie is by experimenting with layering. A sleeveless hoodie, for instance, can be a fantastic addition to your casual outfit, offering versatility for transitioning seasons. You can wear it over a fitted long-sleeve shirt or a simple tee to create that effortless street style. For colder days, consider incorporating it under a stylish denim or leather jacket. Add some chunky accessories or a patterned scarf to complete the look and add a personal touch. The options are endless, and you can match your modified hoodie with various bottoms, from joggers to skirts, creating a statement wherever you go.
Another approach is to customize the shape and fit for an even bolder alteration. Experiment with cutting your hoodie into crop tops or oversized fits by taking inspiration from current trends. A cropped hoodie can be paired with high-waisted jeans or skirts, bringing a youthful and refreshing edge to your ensemble, while an oversized cut can provide a laid-back yet chic vibe, perfect for a cozy day out. You can also embellish your hoodie with unique techniques, such as tie-dye, embroidery, or fabric paint, to create one-of-a-kind designs that express your individuality.
To bring even more texture and flair to your hoodie, think about adding details like panels or decorative tape. Use contrasting fabrics for a sporty look, or layer sheer materials to give your garment an airy feel. Integrating a drawstring finish along the neckline can enhance the casual aesthetic, allowing you to adjust the fit as needed. These stylish modifications not only elevate the overall appeal of the hoodie but also make it an essential piece for any wardrobe.
In your pursuit of a fresh and stylish hoodie, remember that the key lies in your creativity. With every cut and stitch, you have the power to create a unique addition to your closet, one that reflects your personality and style preferences. So, grab that hoodie, gather your tools, and start transforming it into the fashionable piece you’ve always envisioned!
Common Mistakes to Avoid When Removing Hoods
When embarking on the journey of transforming your favorite hoodie by removing the hood, it’s important to be mindful of common pitfalls that can turn a creative project into a frustrating experience. Many enthusiasts dive in without considering a few key factors, which can impact the look and feel of the finished product. Avoiding these mistakes will not only save you time but also ensure that your newly modified hoodie retains its comfort and style.
One common misstep is jumping straight into cutting without proper planning. Before you make any snips, carefully assess how the removal will affect the overall shape of your hoodie. Measure twice, cut once! Consider trying on the hoodie and marking the desired line for the cut with tailors’ chalk; this practice helps you visualize how much length you want to keep. Additionally, make sure to use sharp fabric scissors to avoid jagged edges, which can give your hoodie a less polished appearance.
Another mistake often made is neglecting the finishing details. After you’ve removed the hood, the raw edges can look unfinished and may fray over time. To avoid this, take the time to hem the edges properly. You can use a simple straight stitch or zigzag stitch on a sewing machine, or even consider using an overlock stitch for a professional finish. If you’re not comfortable with sewing, using fabric tape or a no-sew approach can be a quick fix, but it’s essential to ensure that it securely adheres without causing irritation.
Lastly, don’t underestimate the power of accessorizing your hoodie post-alteration. Many people remove the hood but forget to enhance the overall look with styling techniques. Consider adding a decorative hem, embroidery, or unique appliqués where the hood used to be. This not only adds a personal touch but can also revitalize an older piece that may have been left unworn. Embrace your creativity – you might even discover a new favorite style in the process!
By being aware of these common mistakes, you can ensure a smooth and successful alteration process that results in a uniquely stylish garment that fits your evolving fashion sense. Happy crafting!
How to Repurpose the Removed Hood into Accessories
Transforming the removed hood from your hoodie into trendy accessories is a creative way to breathe new life into your wardrobe. Instead of letting the hood go to waste, you can turn it into unique pieces that not only combine style and function but also showcase your personal flair. Here are some innovative ideas to repurpose that hooded fabric into fashionable accessories.
One of the simplest yet most effective ways to use the hood is to turn it into a cozy neck warmer or an infinity scarf. To create this, simply take the hood, cut off any excess fabric from the bottom, and sew the edges to ensure durability. This accessory is perfect for keeping warm during chilly months and adds an extra layer of style to your outfit. If you want, you can also adorn it with embellishments like patches or embroidery to make it truly your own.
Another exciting option is to convert the hood into a stylish bag or pouch. By cutting the hood along the seams and sewing it into a case, you can create a small tote that’s great for carrying essentials like your phone, keys, and wallet. Consider adding a drawstring closure using the existing drawstring from the hood, which adds both practicality and a nod to the original design. You can even personalize the bag with fabric paint or iron-on designs for a unique touch.
If you’re feeling bold, think about transforming the hood into fun earmuffs. By cutting the hood into two equal sections, and attaching a soft band or headband in-between, you can create a playful pair of earmuffs. This clever reuse not only highlights your creativity but also makes a warm and practical accessory for winter.
Lastly, don’t forget about smaller items like hair accessories! Cut the fabric from your hood into strips to create scrunchies or headbands. This is an excellent way to match your accessories to your newly modified hoodie while keeping your hair stylishly in place. A well-stitched scrunchie can be both a statement piece and a functional item in your hair care routine.
By repurposing the removed hood from your hoodie into these various accessories, you not only reduce waste but also enhance your fashion repertoire. Embrace your creativity throughout this process, and don’t hesitate to mix and match ideas to come up with something uniquely yours!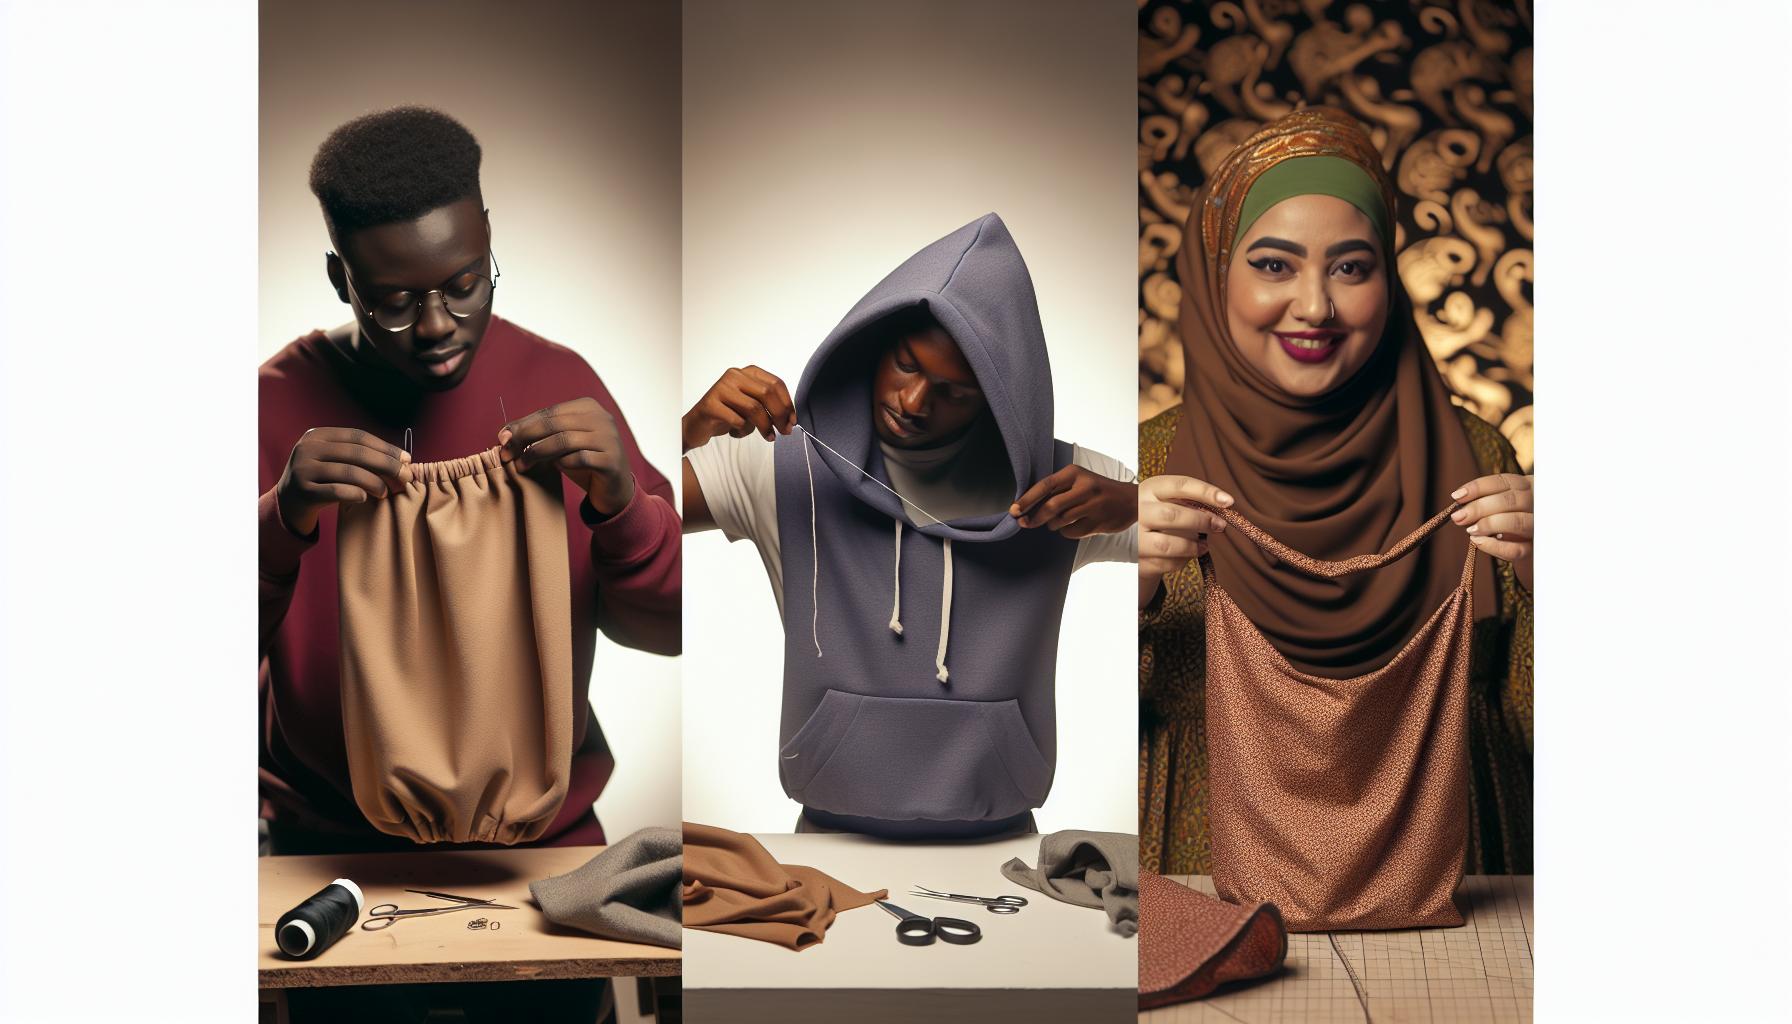
Caring for Your Hoodie Post Alteration
Caring for your newly altered hoodie is essential not just to maintain its aesthetic appeal but also to ensure its longevity and comfort. After transforming your hoodie by removing the hood, you may be excited to wear it, but consider these vital care tips to keep it looking fresh and fabulous.
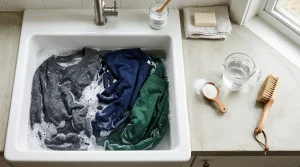
Firstly, when washing your DIY-modified hoodie, always turn it inside out. This simple step can help protect the stitching you’ve done and prevent pilling on the outer fabric. Use a gentle cycle with cold water to maintain the fabric’s integrity and avoid any unwanted shrinkage. Opt for a mild detergent, as harsh chemicals can break down the fibers over time and lead to fading. If your hoodie features custom embroidery or embellishments, check to ensure they are safe for washing and avoid any fabric softeners that could leave residues or damage the threads.
Stain removal is another key aspect of hoodie maintenance. For minor spills, act quickly-blot the stain (don’t rub!) with a clean cloth and cold water. For stubborn stains, you can create a paste of baking soda and water and apply it directly to the affected area. Let it sit for about 30 minutes before rinsing gently. Remember to always test any stain removal method on a hidden area first, just to be safe!
Additionally, if you’ve added any unique touches like tie-dye or fabric paint, be sure to hand wash these garments separately to prevent colors from bleeding onto other items. Dry your hoodie either by hanging it up or laying it flat; avoid using a dryer, as heat can change the shape and size of your cherished piece.
Finally, store your hoodie properly. To keep its shape, fold it rather than hanging it, especially if it has any delicate customizations. Consider keeping it in a breathable cotton bag if you plan to store it away for an extended period. This will help shield it from dust and maintain its fresh appearance.
By following these care tips, you can ensure that your modified hoodie remains a stylish and favorite item in your wardrobe for years to come, reflecting your personal style with each wear.
Creative Customization Ideas Beyond Hood Removal
Unleashing your creativity on a hoodie goes beyond just removing its hood; it’s about transforming it into a one-of-a-kind piece that showcases your personal style. Hoodies have long been celebrated for their comfort, but they’re also blank canvases awaiting your artistic touch. Whether you’re a seasoned crafter or a beginner looking to dip your toes into DIY fashion, here are some fun and engaging customization ideas that will elevate your hoodie game.
One fantastic way to personalize your hoodie is through fabric paint. Create vibrant designs, patterns, or even stenciled graphics. You could freehand a cool logo, paint stripes, or express quotes that inspire you. If you don’t feel confident in your painting skills, consider using stencils. This method not only ensures a clean finish but also allows you to repeat the design on other garments. After painting, let your artwork dry completely, and heat set it with an iron to ensure durability.
Another exciting option is embroidery, which adds texture and depth to your hoodie. Consider embellishing the cuffs, pocket areas, or the back with flowers, geometric shapes, or your initials. Adding patches is also a trendy way to customize. Choose from quirky designs or vintage patches to sew or iron onto your hoodie. The combination of embroidery and patches can create a unique, layered look that is both stylish and meaningful.
Don’t overlook tie-dye as a creative avenue! This retro technique is not only fun but also perfect for adding color to an otherwise plain hoodie. You can create classic spirals, stripes, or even ombre effects. Simply secure various sections of the hoodie with rubber bands, apply your chosen dye, and let it set according to the dye instructions. After rinsing and drying, you’ll have a vibrant piece that stands out.
Finally, consider adding functional elements such as a front pocket or additional drawstrings. You can sew on pockets made from contrasting fabric to enhance both functionality and style. For drawstrings, choose a material that pops against your hoodie color for a fashionable twist. This adds not just a unique aesthetic but also extra utility to your garment.
In sum, customizing your hoodie offers numerous avenues for self-expression and creativity. Don’t be afraid to experiment with different techniques and colors to make the perfect statement piece that truly reflects who you are. Whether you’re painting, embroidering, tie-dying, or adding new features, each alteration serves as a fun project that ensures your cozy wear stands out from the crowd!
Washing and Maintaining Your DIY-Modified Hoodie
Maintaining the quality of your DIY-customized hoodie is crucial, especially after you’ve put in the effort to remove the hood and transform your garment. Proper washing and care practices not only ensure that your creativity shines through but also prolong the life of your cozy companion. With the right approach, you can keep your customized hoodie looking fresh and vibrant for many wearings to come.
To start off, always check the washing instructions on the label of your hoodie. This is particularly important if you’ve added embellishments like fabric paint or embroidery since some materials may be sensitive to different washing conditions. For most DIY-modified hoodies, a gentle cycle in cold water is your best bet. Avoid using bleach, as it can fade colors and damage newer fabric designs. Instead, use a mild detergent to preserve the integrity of your designs.
Here are some effective washing tips:
- Turn your hoodie inside out before washing to protect any painted or embroidered areas.
- Consider placing it in a mesh laundry bag to avoid snagging on other clothing.
- For particularly bright or new designs, wash it separately for the first few cycles to prevent color bleeding.
When it comes to drying, air drying is the safest method to maintain your hoodie’s shape and designs. If you choose to tumble dry, use a low heat setting to diminish the risk of shrinking or damaging any applied embellishments. If your hoodie has been embellished with fabric paint, be cautious about the heat, as high temperatures can cause peeling or cracking.
In addition to washing, treating stains promptly will keep your customizations looking sharp. Blot any spills gently with a clean cloth, and use a compatible stain remover that is safe for the fabric. Test on a small, inconspicuous area first to avoid further damage.
Finally, regularly inspect your hoodie for any signs of loose threads or fraying edges caused by the alterations. Addressing these early on will help maintain the hoodie’s appearance and function. Embrace the DIY spirit by taking care of your creation, ensuring that each wear is as enjoyable as the last. Remember, a little bit of love goes a long way in keeping your hoodie an essential part of your casual wardrobe!
Understanding Hoodie Construction: Key Components
Understanding the intricacies of hoodie construction can significantly enhance your DIY experience, particularly when you’re considering altering your garment. Each hoodie, while seemingly simple, is crafted with various components that contribute to its comfort, style, and functionality. Familiarizing yourself with these elements can not only make the process of hood removal easier but also empower you to make more informed customization decisions.
At its core, a hoodie typically comprises several key parts: the body, sleeves, hood, and finishing details like cuffs and hems. The body is usually made from soft, durable materials like cotton or a cotton-blend fleece, providing warmth and comfort. The sleeves often feature ribbed cuffs for a snug fit, which is crucial for preventing heat loss. The hood is usually attached at the neckline with stitches, and can often include a drawstring for adjustability. It’s this attachment that you’ll focus on when removing the hood. Properly analyzing where the hood is sewn onto the body can help you detach it cleanly and avoid damaging the rest of the hoodie.
One of the most critical aspects to consider is the seam construction. Hoodies are typically constructed using flatlock or traditional seams, both of which will require different approaches in terms of removal. For example, flatlock seams are often less bulky and may be easier to unpick, whereas traditional seams might require more care to keep the garment intact. Additionally, understanding where the interfacing-a stiffer fabric that supports the structure of the hood-might be found can help you decide the best way to execute your hood removal without leaving ragged edges.
Finally, remember the finishing details like the inner lining of the hood or facing which may extend into the neckline. How you handle these will impact the final look of your altered hoodie. A clean edge, achieved through techniques such as serging or binding, can transform your piece from a mere alteration to a bespoke creation that showcases your personal style. By embracing the underlying structure of your hoodie, you not only simplify the removal process but also open up a world of possibilities for future customizations and styling.
Frequently Asked Questions About Hoodie Alterations
Hoodie alterations open up a realm of creativity and personalization, allowing you to truly make your garment your own. If you’re considering removing the hood from your hoodie, you likely have some questions. Let’s dive into the most frequently asked questions about this DIY endeavor.
One common question is, “Will removing the hood change the fit of my hoodie?” The answer is somewhat yes; however, the impact can be minimal if done carefully. When you remove the hood, the neckline might slightly adjust, but with clean finishing, the hoodie should maintain its overall shape. If you’re worried about the fit, consider adding a neckband or binding to create a clean edge, which can help maintain the integrity of the neckline.
Another frequently asked query is, “What tools do I need for hoodie alterations?” Essential tools typically include a seam ripper, fabric scissors, pins, and sewing supplies like thread and a sewing machine. If you’re looking to give your hoodie a polished finish after removal, you might also want to have some bias tape or a serger on hand. This will ensure that any edges left after the hood is detached are neatly finished, preventing fraying.
“Can I repurpose the removed hood?” Absolutely! The fabric of the removed hood can serve as material for various accessories, such as headbands, face masks, or even small bags. If you’re crafty, you could also embellish it with tie-dye or embroidery, turning it into a unique statement piece. This not only minimizes waste but also enhances your DIY wardrobe!
Caring for your hoodie after alterations is crucial. “How should I wash my altered hoodie?” Generally, it’s best to wash your hoodie in cold water to preserve its color and shape. Turn it inside out to protect any new edges you’ve created and avoid harsh detergents, as these can weaken the fabric over time. Additionally, line drying is better than using a dryer, which can cause shrinkage.
With these insights, you can confidently tackle your hoodie alterations, transforming a simple piece of clothing into a personalized expression of your unique style!
Q&A
Q: How do I safely detach the hood from my hoodie without damaging the fabric?
A: To safely detach the hood, use sharp fabric scissors for clean cuts along the seam. Start at the back neckline and work towards the front, ensuring you don’t cut into the main body of the hoodie. It’s best to pin the fabric to stabilize it while cutting.
Q: What tools do I need to remove a hood from a hoodie?
A: Essential tools for removing a hood include fabric scissors, a seam ripper for undoing stitches, and pins for holding fabric in place. A sewing machine or needle and thread may also be needed for edge finishing after removal.
Q: Can I repurpose the hood after removing it from my hoodie?
A: Yes! The removed hood can be repurposed into various accessories such as a small bag, scarf, or even a pillow cover. Check the section on repurposing in our guide for creative ideas on giving your hoodie hood a new life.
Q: Is it easier to buy a hoodie without a hood rather than removing one?
A: Buying a hoodie without a hood can save time and potential hassle, especially if you’re not comfortable with sewing. However, customizing your existing hoodie allows for personal creativity and can be a fun DIY project that saves money.
Q: How do I finish the edges of my hoodie after removing the hood?
A: To finish the edges after hood removal, you can use a sewing machine to create a zigzag stitch or a serger if available. Alternatively, fold the edge and sew a straight stitch to prevent fraying, ensuring a clean and professional look.
Q: What mistakes should I avoid when detaching a hood from my hoodie?
A: Common mistakes include cutting too close to the main fabric, which can lead to damage, or failing to secure the hoodie before cutting, resulting in uneven edges. Always pin your fabric before making cuts to maintain accuracy and stability.
Q: How can I maintain my hoodie after altering it?
A: To maintain your newly modified hoodie, wash it in cold water to prevent shrinkage and fading. Always air dry to preserve the fabric’s integrity, and avoid harsh detergents that may weaken the material over time.
Q: Where can I find inspiration for customizing my hoodie beyond hood removal?
A: You can find customization inspiration in our “Creative Customization Ideas” section. Techniques like embroidery, tie-dye, and adding patches can greatly enhance the style of your hoodie while showcasing your unique personality.
To Wrap It Up
Congratulations on learning how to remove the hood from your hoodie! This simple DIY project not only transforms your favorite sweatshirt but also empowers you to customize your casual style. If you’re looking to further enhance your hoodie game, check out our guides on styling tips and care instructions to keep your sweatshirt in top shape. Remember, customizing your wardrobe can be a fun way to express yourself, so don’t hesitate to experiment with other projects like tie-dye or embroidery!
Ready to take your hoodie game to the next level? Subscribe to our newsletter for exclusive tips, DIY ideas, and more! If you have any questions or want to share your own customization story, drop a comment below-we’d love to hear from you. Keep exploring our site for even more practical guides, and don’t forget to bookmark us for future reference! Your ideal hoodie style is just a click away!
How to Remove Hood from Sweatshirt: Preserving Factory Ribbing
Excessively heavy double-fleece hoods often pull pullovers backward against the neck, creating discomfort during daily desk work or workouts. Knowing how to remove hood from sweatshirt cleanly allows you to salvage the comfortable torso while converting the piece into a sleek crewneck:
| Removal Method | Finished Aesthetic | Tooling Required | Difficulty Rating |
|---|---|---|---|
| Seam Ripper Chainstitch Pull | Preserves original ribbed neckband (factory crewneck finish) | Fine curved seam ripper, tailor’s scissors | Beginner (15 mins) |
| Direct Shear Cut (Raw Edge) | Trendy raw-edge skater collar that curls into rounded roll | 8-inch sharp dressmaking shears, stay-stitch | Absolute Beginner (5 mins) |
| Contrast Ribbing Replacement | Custom two-tone streetwear crewneck | Sewing machine, 2×2 cotton-spandex ribbing | Intermediate (30 mins) |
Attaching a Contrast Rib Knit Collar Band
If detaching the hood leaves an enlarged neck opening:
- Cut a strip of 2×2 cotton-spandex ribbing equal to 85% of the neckline circumference.
- Sew the short ends into a loop, fold in half lengthwise with wrong sides together, and divide into four equal quadrants with pins.
- Match pins to the center front, center back, and shoulder seams. Stretch the ribbing gently as you sew with a stretch or serger stitch to ensure it hugs the neck flush without gaping.
Get our latest guides, news, and insights highlighted in your Google Search & AI Overviews.