✨ This article was AI edited. Editorial responsibility: CoolestHoodies.com.
Produced with AI. This article was artificially generated. Editorial responsibility: CoolestHoodies.com.
How to fix frayed hoodie strings? You can permanently fix frayed hoodie drawstrings by applying clear heat-shrink tubing, crimping metal aglet tips, singeing synthetic fiber ends with a controlled flame, or wrapping raw cotton threads with clear fabric glue and thread whipping to prevent further unraveling.
The Anatomy of a Hoodie Drawstring: Why Tips Fray and Unravel
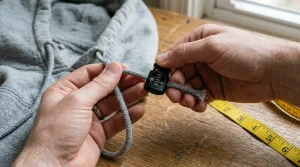
The protective plastic or metal sheath terminating the end of a shoelace or hoodie drawstring is known technically as an aglet. Factory aglets on hooded sweatshirts are typically constructed from thin celluloid plastic heat-molded onto the braided cord. Over months of regular machine washing, friction, and pulling, these factory plastic sleeves crack, shatter, or slide off completely.
Once the aglet disappears, the braided yarn structure loses its compressive tension. Individual cotton or polyester strands immediately begin unbraiding, creating an untidy, bushy pom-pom of loose threads. Left untreated, the fraying travels several inches up the cord, making it impossible to re-thread the drawstring through the collar eyelets and ruining the clean aesthetic of your sweatshirt.
Fortunately, restoring or upgrading your drawstring tips requires only a few minutes and inexpensive materials you likely already own.
Comparison of Drawstring Repair Methods
Depending on your aesthetic preference, tools available, and cord fiber composition, select the optimal restoration technique from this comparison matrix:
| Repair Technique | Material Cost | Durability Level | Best Suited Cord Material | Aesthetic Finish |
|---|---|---|---|---|
| Clear Heat-Shrink Tubing | Under $2 | Very High (Years of washing) | 100% Cotton, Poly-Blends, Flat Cords | Factory OEM transparent clean look |
| Crimped Metal Aglets | $3–$5 for kit | Permanent (Lifetime durability) | Thick Round & Flat Braided Cords | Luxury streetwear / Designer upgrade |
| Controlled Thermal Singeing | Free ($0) | High | 100% Polyester / Nylon Synthetic Cords Only | Smooth, melted sealed bead |
| Adhesive Dip (Fabric Glue / Polish) | Under $1 | Moderate (Can re-crack after 10 washes) | Fine cotton threads, quick temporary fix | Hardened transparent tip |
| Sailmaker’s Whipping Knot | Under $1 | Extremely High | Raw rope cords, vintage apparel | Artisanal thread-wrapped vintage look |
Method 1: The Heat-Shrink Tubing Technique (The Gold Standard)
Electrical polyolefin heat-shrink tubing provides the closest replication of factory-molded transparent aglets. It is flexible, water-resistant, and will survive dozens of wash cycles without cracking:
- Trim the Fray: Use sharp scissors to trim away the messy, bushy end of the frayed cord, cutting perpendicular to the cord at the point where the braid remains tight and undamaged.
- Select Tube Diameter: Purchase clear 3/16-inch (4.8 mm) or 1/4-inch (6.4 mm) heat-shrink tubing from a hardware store or online electronics supplier. The tube should slide snugly over the trimmed cord tip with minimal excess space.
- Cut to Length: Cut a piece of tubing approximately 3/4 inch to 1 inch (20 to 25 mm) in length.
- Slide Onto Cord: Slide the plastic tube over the trimmed cord tip, leaving roughly 1 millimeter of cord protruding from the end.
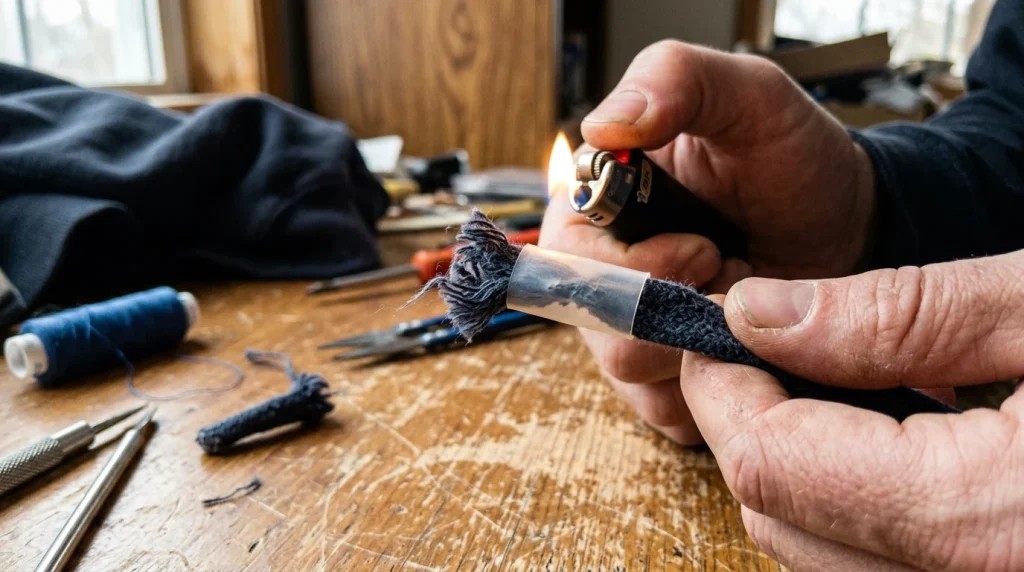
- Apply Gentle Heat: Hold the flame of a cigarette lighter or utility lighter about 1 inch beneath the tubing, rotating the cord continuously for 5 to 8 seconds. Alternatively, use a high-heat hair dryer or embossing heat gun. The plastic will shrink tightly, compressing the cotton fibers into a rock-solid, transparent cylinder.
Method 2: Installing Replacement Metal Aglets (Luxury Streetwear Upgrade)
If you want to elevate your standard hoodie to match designer streetwear brands like Fear of God, Off-White, or Cole Buxton, replace damaged plastic tips with screw-on or crimp-on metal aglets (available in matte black, gunmetal, chrome, or antique brass):
- Trim the frayed end clean and wrap a tight layer of clear tape around the tip to compress the fibers into a narrow cylinder.
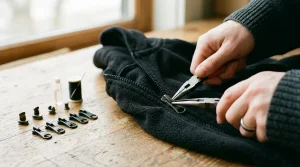
- For Crimp-On Aglets: Insert the wrapped cord tip into the metal aglet sleeve. Place a cloth over the metal to protect the finish, then use flat-jaw pliers to firmly squeeze the metal tabs closed around the cord.
- For Screw-In Aglets: Slide the cylindrical metal sleeve over the cord tip, then insert the provided micro-screw into the side hole, tightening it firmly with a jeweler’s screwdriver until it bites into the core fibers.
Method 3: Controlled Thermal Singeing (Synthetic Cords Only)
If your hoodie drawstring is made from 100% synthetic fibers (polyester, nylon, or polypropylene), you can seal the fibers instantly using heat fusion without adding any new materials:
Safety Warning: Never attempt this method on 100% cotton, wool, or linen cords. Natural plant and animal fibers will burn, ash, and catch fire rather than melt.
- Trim the loose frayed threads flush with the solid cord braid.
- Hold a lighter flame near the tip for 2 to 3 seconds until the synthetic polymers begin to liquefy and glaze over.
- Immediately remove the flame. While the plastic is still soft and pliable, wet your fingers with cold water (or press the tip against a flat metal surface) and quickly roll the tip to mold it into a neat, rounded cone.
Method 4: The Traditional Thread Whipping Stitch (Artisanal Fix)
For vintage cotton fleece and heritage sweatshirts where modern plastic tubing looks out of place, traditional maritime cord whipping creates a handsome, indestructible tip:
- Take 12 inches of heavy-duty waxed sewing thread or embroidery floss in a matching or contrasting color.
- Form a small U-shaped bight (loop) along the end of the drawstring.
- Tightly wind the long end of the thread around both the drawstring and the loop, working toward the tip for roughly 3/4 of an inch.
- Pass the working thread end through the remaining loop opening, then pull the opposite tail at the base of the wrap to draw the knot completely under the wraps, locking it invisibly.
- Trim any protruding thread ends and seal with a micro-dab of clear fabric glue.
How to Prevent Drawstring Fraying in the Laundry
Once you have repaired your drawstring tips, protect them from future damage during laundering:
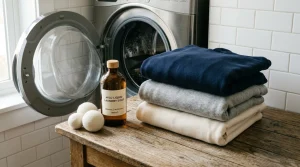
- Tie a Loose Knot: Before tossing your hoodie into the wash, tie the two drawstring ends together in a loose bow knot. This prevents the cords from thrashing against the metal drum walls or getting sucked through the collar channel.
- Wash in a Mesh Garment Bag: Placing your hoodie inside a zippered laundry bag eliminates snagging against zippers, hooks, or buttons from other clothing items.
- Avoid Tumble Dryer High Heat: Extreme dryer heat softens plastic aglets and weakens glue bonds, causing tips to detach prematurely. Air-dry flat whenever possible.
Frequently Asked Questions About Hoodie Strings
Can I use clear Scotch tape to fix a frayed hoodie string?
While clear household tape works as a 10-minute emergency fix to thread a string through a hole, it will peel off, turn gummy, and leave sticky residue after the first trip through the laundry. Heat-shrink tubing or fabric glue is far more durable.
What do I do if my drawstring has completely pulled inside the hood?
Attach a large metal safety pin securely to one repaired tip of the drawstring. Insert the safety pin into the collar eyelet and bunch the fabric forward over the pin, inching it through the channel until it emerges out the opposite eyelet.
Get our latest guides, news, and insights highlighted in your Google Search & AI Overviews.