✨ This article was AI edited. Editorial responsibility: CoolestHoodies.com.
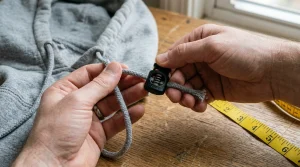
It happens in seconds: a quick pull on your sweatshirt in the laundry room or a high-spin washing machine cycle, and your hoodie drawstring vanishes into the narrow circular channel sewn around your hood. Knowing how to fix a hoodie string—specifically how to re-thread a completely lost cord through the fabric casing—restores your sweatshirt to factory perfection in under five minutes using common household tools.
The hood channel is essentially a hollow fabric tunnel with only two small entrance and exit eyelets. Trying to shove a floppy, unassisted cotton cord through this tunnel by hand is nearly impossible because the fabric friction stops the limp cord within inches. Below is the definitive, field-tested guide to re-threading, repairing, and permanently securing a lost hoodie string.
Tool Comparison Matrix: What Works Best?
You do not need specialized tailoring tools to re-thread a hoodie cord. Evaluate these four everyday household implements:
| Re-Threading Tool | Speed | Success Rate | Best For |
|---|---|---|---|
| Large Safety Pin (2 to 3-inch) | Fast (3 to 5 min) | 99% | Standard fleece hoods, knit cords, flat woven laces (The Gold Standard) |
| Plastic Drinking Straw + Stapler | Ultra-Fast (2 to 3 min) | 95% | Tight channels, grommets with small apertures, smooth cords |
| Wire Coat Hanger | Moderate (4 to 6 min) | 85% | Heavy workwear hoodies, wide waistbands; requires care to avoid snagging fleece |
| Sewing Bodkin Tool | Fastest (2 min) | 100% | Professional apparel repairs; features clamp teeth and blunt ball tip |
Method 1: The Safety Pin Technique (The Gold Standard)
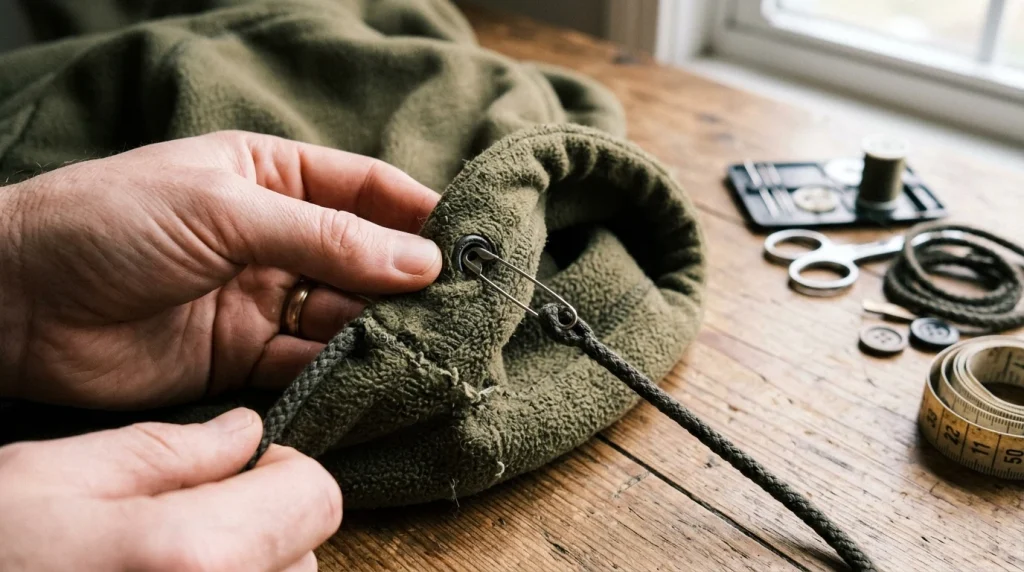
The safety pin is universally considered the most reliable household method because the pin provides a rigid, blunt anchor you can easily grip through the fleece fabric:
- Select the Right Pin: Use a medium-to-large safety pin (at least 1.5 to 2 inches long). Avoid tiny dressmaker pins, which are difficult to manipulate through heavy fleece and may pop open inside the channel.
- Anchor the Cord: Push the pin through one end of your drawstring, roughly 1/2 inch away from the aglet tip. Close the safety pin clasp securely. Wrap a tiny piece of clear tape around the clasp if you are concerned about it opening inside the casing.
- Enter the Grommet: Insert the closed safety pin into one of the hood eyelets. Push the head of the pin forward into the tunnel.
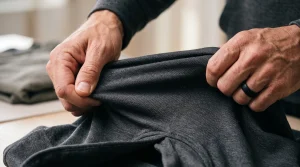
- The Inchworm Motion: Using one hand, bunch up 2 inches of the hood fabric over the pin. With your other hand, hold the pin firmly through the gathered fabric, then pull the bunched fabric backward along the cord behind you. Repeat this rhythmic gather-and-pull motion smoothly around the curved contour of the hood.
- Exit and Balance: Once the pin reaches the opposite eyelet, guide the head out through the opening. Pull several inches of cord through, remove the safety pin, and pull both cord ends until they are perfectly balanced.
Method 2: The Drinking Straw Hack (Best for Tight Eyelets)
If your hoodie has narrow eyelets or metal grommets where a bulky safety pin struggles to fit, the plastic drinking straw method provides a sleek, flexible alternative:
- Thread roughly 2 to 3 inches of your drawstring into a clean plastic drinking straw.
- Staple the straw to the drawstring near the opening, or wrap a small piece of clear tape around the cord and straw tip to keep it locked in place.
- Feed the rigid plastic straw into the hoodie eyelet. Because the straw is naturally smooth and semi-rigid, it slides effortlessly through the fleece channel with minimal fabric drag.
- Push the straw along the hood perimeter until it emerges from the opposite eyelet. Remove the staple or tape, and extract the straw.
Method 3: The Wire Hanger Pull (For Heavy-Duty Sweatshirts)
On thick, heavy fleece workwear hoodies (like Carhartt or Champion Reverse Weave) where safety pins struggle against stiff interior seams:
- Untwist an ordinary metal dry-cleaner wire coat hanger using pliers.
- Straighten the wire as much as possible, leaving a smooth 1-inch curved loop or hook at the leading tip. Never use a raw cut wire edge, which will rip through the fleece lining.
- Tightly tape your drawstring end to the trailing end of the wire.
- Push the smooth curved wire all the way through the hood channel in one continuous push until the tip emerges from the other side, pulling the cord behind it effortlessly.
How to Rebuild a Broken Aglet (Drawstring Tip)
If your string pulled out because the plastic aglet broke and the frayed fibers caught on the eyelet edge, you must rebuild the tip before re-threading:
- The Heat-Shrink Method: Trim frayed yarn ends with sharp scissors. Slide a 3/4-inch piece of 4mm polyolefin heat-shrink tubing over the cord tip. Heat gently with a lighter or hairdryer for 5 seconds until it shrinks firmly into a factory-grade stiff casing.
- The Thread Whipping Method: For a vintage heritage look, wrap waxed nylon or polyester thread tightly around the tip of the cord for 1/2 inch, tying it off with a hidden surgeon’s knot and a drop of clear fabric glue.
The Permanent Fix: Anchor Stitching the Center Back
If you want a permanent guarantee that your drawstring will never pull out again, apply this subtle tailor’s trick:
- Balance your drawstring so that both ends hang at exactly equal lengths from the front eyelets.
- Locate the exact center back neck seam of your hood.
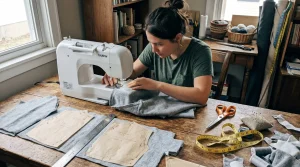
- Using a needle and matching thread, sew three vertical lock stitches directly through the center back seam, penetrating through the fleece hood and the drawstring cord inside.
- Because the cord is permanently anchored at the center back, it can still cinch freely on both sides, but it can never physically pull through either eyelet during washing.
Preventive Stopper Knots: Never Lose Your String Again
Once re-threaded, prevent the drawstring from ever disappearing into the hood again by tying permanent stopper knots:
| Knot Style | Aesthetic Appearance | Security Level | Ease of Untying |
|---|---|---|---|
| Figure-Eight Knot | Clean, classic, symmetrical | High (Does not jam under tension) | Easy |
| Barrel / Coil Knot | Streetwear elevated, cylindrical | Maximum (Bulky profile blocks any grommet) | Moderate |
| Standard Overhand Knot | Simple, minimalist | Moderate (Can slip through oversized eyelets) | Difficult if pulled tight |
Frequently Asked Questions
What should I do if the safety pin opens inside the hood?
If a safety pin pops open inside the channel, do not pull aggressively, as the sharp point can puncture through the outer cotton fleece. Gently squeeze the fabric around the pin to locate the clasp and pin head. Work the pin backward toward the nearest eyelet using tiny, gentle movements until you can extract it safely.
Can I wash a hoodie without the string pulling out?
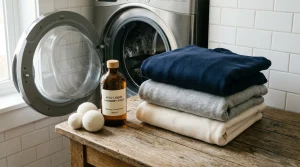
Yes. Simply tie both drawstring tails together in a loose bow knot before placing the hoodie in the washing machine. Alternatively, wash your hoodie inside a zippered mesh laundry bag to prevent agitation from snagging cords on other garments.
How long should a standard hoodie drawstring be?
An average adult hoodie drawstring measures between 45 and 55 inches (115 to 140 cm) in total length. If you are replacing a worn-out cord, 50-inch braided cotton cord with metal aglets provides ideal hanging proportions without dragging.
Maintaining Sweatshirt Architecture
Caring for your drawstrings preserves both the functional warmth and clean symmetry of your sweatshirt. For additional troubleshooting on untangling cords or fixing uneven tails, review our companion guide on how to fix hoodie strings. To understand complete garment construction methods, see how to sew a sweatshirt, and store your sweatshirts properly to prevent stretching by reading whether you should hang or fold hoodies.
Get our latest guides, news, and insights highlighted in your Google Search & AI Overviews.