✨ This article was AI edited. Editorial responsibility: CoolestHoodies.com.
Produced with AI. This article was artificially generated. Editorial responsibility: CoolestHoodies.com.
How to add a zipper to a hoodie? You can add a zipper to a pullover hoodie by cutting straight down the center front line, slitting the kangaroo pocket, stabilizing the raw cotton edges with fusible interfacing tape, and stitching a separating zipper into place using a zipper presser foot.
Why Convert a Pullover Hoodie into a Full-Zip?
Pullover hoodies are cozy winter classics, but they come with distinct functional drawbacks: pulling a thick fleece garment over your head ruins hairstyles, dislodges headphones, smears face makeup, and makes dynamic temperature regulation virtually impossible once you transition from cold outdoor air into overheated indoor environments. In contrast, a full-zip hoodie offers instantaneous ventilation, effortless on-and-off layering, and diverse open-front streetwear styling options.
Instead of purchasing an expensive new zip-up sweatshirt, converting a favorite old pullover allows you to preserve broken-in vintage fleece, personalized collegiate graphics, or discontinued colorways while gaining modern full-zip functionality. Although cutting into a perfectly good sweatshirt feels intimidating, following a structured tailor’s methodology ensures crisp, puckering-free results that rival factory construction.
Tools and Materials Required for Conversion
Because circular knit fleece stretches unpredictably under sewing machine feed dogs, professional stabilization materials are essential:
| Tool / Material | Recommended Specification | Purpose in Conversion |
|---|---|---|
| Separating Zipper | #5 Molded Plastic (Vislon) or Metal Separating Zipper | Primary front closure that separates completely at bottom |
| Fusible Knit Interfacing Tape | 1-inch wide lightweight fusible bias or straight tape | Prevents stretchy fleece from rippling or stretching under needle |
| Tailor’s Chalk & Long Acrylic Ruler | Standard chalk wheel or clay tailor’s marker | Marking the exact perpendicular center front cut line |
| Fabric Shears or Rotary Cutter | Ultra-sharp dressmaking scissors | Making a single continuous, clean vertical cut |
| Double-Sided Basting Tape (Wonder Tape) | 1/4-inch wash-away adhesive sewing tape | Bonds zipper tape to fleece without straight pins |
| Heavy-Duty Sewing Machine Needle | Size 90/14 or 100/16 Ballpoint / Jersey Needle | Penetrates multiple layers of fleece and zipper tape smoothly |
| Zipper Presser Foot | Narrow adjustable or snap-on zipper foot | Allows stitches right against raised zipper teeth |
Measuring and Sizing the Replacement Zipper
Never purchase a random zipper from the craft store without taking precise garment measurements first. A zipper that is even one inch too long or too short will distort the entire neckline and waistband:
- Lay your pullover hoodie completely flat on a table, smoothing out the front torso and kangaroo pocket.
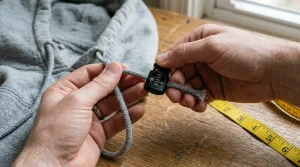
- Measure along the center front line starting from the very top of the neckband ribbing (where the hood seam joins the collar) straight down to the lowest edge of the bottom hem waistband.
- This measurement is your Finished Zipper Length (typically 24 to 28 inches for adult sizes).
- Purchase an open-ended Separating Jacket Zipper matching this exact length. If you can only find a longer zipper, purchase metal top stops so you can trim the excess length from the top of the track and re-clamp the stops at your measured neck height.
Phase 1: Precision Center Marking and Cutting
Precision during this phase determines whether your finished zipper hangs straight or twists sideways across your chest:
- Locate the True Center: Fold the hoodie in half vertically, aligning the side seams, shoulder seams, and hood edges. Lightly press the vertical center fold with your hands (or a low-temperature iron) to create a faint crease down the front.
- Mark the Cut Line: Unfold the hoodie and lay it flat. Place a long yardstick along the center fold, running from the center front of the neckband straight down through the center of the kangaroo pocket to the bottom waistband ribbing. Draw a bold, straight line with tailor’s chalk.
- Slit the Kangaroo Pocket First: Before cutting the main sweatshirt body, use a seam ripper to carefully detach the center top 1 inch of the kangaroo pocket where it meets the sweatshirt body, or simply plan to cut through both layers simultaneously. Cutting through both layers creates two neat, separate hand-warmer pockets.
- Make the Master Cut: Using sharp fabric shears, cut smoothly along your chalk line in long, continuous strokes from the bottom waistband all the way through the top neckline ribbing. You now have two distinct left and right front panels.
Phase 2: Stabilizing Raw Cut Edges with Interfacing
The single biggest reason amateur zipper conversions look wavy and bacon-like is skipping interfacing. Circular fleece naturally curls and stretches when cut. Interfacing locks the knit loops in place:
- Cut two strips of 1-inch wide fusible knit interfacing equal to the full length of the front opening.
- Place the fusible side (the bumpy adhesive side) against the wrong (interior fleece) side of each raw cut edge.
- Using a dry iron set to medium heat (wool/cotton setting), press the interfacing firmly for 10 seconds per section. Do not slide the iron back and forth; press down firmly, lift, and move to the next section.
- Allow the fabric to cool for 2 minutes. The raw edges are now permanently stabilized and will not stretch or distort under the presser foot.
Phase 3: Basting and Aligning the Separating Zipper
Pins often allow heavy fleece to shift during sewing. Using wash-away basting tape guarantees millimeter-perfect alignment:
- Unzip your separating zipper so the left and right tracks are disconnected.
- Apply a strip of 1/4-inch double-sided basting tape along the right side of the zipper tape edge.
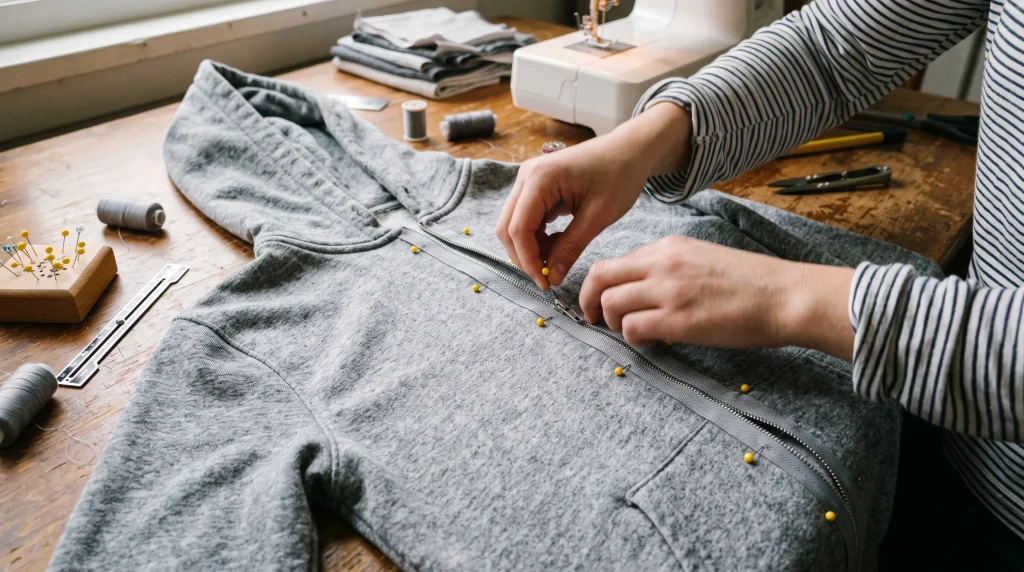
- Place the right half of the zipper face-down against the right side of the hoodie front panel (right sides together), aligning the outer edge of the zipper tape with the raw cut edge of the fleece. The bottom metal stop of the zipper should sit exactly at the lower fold of the bottom waistband.
- Press firmly with your fingers to activate the adhesive bond. Repeat on the opposite left hoodie panel.
- The Match Point Check: Zip the two halves together temporarily to verify that the kangaroo pocket seams and bottom waistband ribbing align perfectly across the center track. If one side is higher, peel the tape back and reposition before sewing.
Phase 4: Machine Stitching and Edge Finishing
With the zipper basted in place, stitch the assembly permanently:
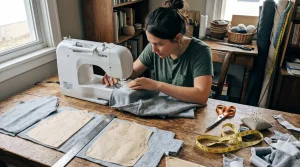
- Attach your narrow zipper presser foot to the sewing machine. Adjust your needle position so it stitches roughly 1/8 to 3/16 inch away from the zipper teeth.
- Set your machine to a straight stitch with a slightly lengthened stitch length (3.0 mm to accommodate fleece thickness).
- Starting at the bottom waistband, sew upward in a steady, straight line, keeping gentle tension on the fabric without pulling. Backstitch securely at the bottom and top ends.
- Repeat on the opposite side, sewing from the bottom hem upward to ensure both sides feed in the same direction.
- The Professional Topstitch: Turn the zipper right side out and press the fleece flat away from the teeth. Topstitch along the fleece edge 1/8 inch away from the zipper fold. This flattens the seam allowance on the inside, preventing the interior cotton placket from catching in the zipper slider during daily wear.
Frequently Asked Questions About Adding Zippers to Hoodies
Can you hand-sew a zipper onto a hoodie?
While possible using a heavy-duty backstitch, hand-sewing thick fleece rarely provides enough consistent tension to prevent wavy puckering. A domestic sewing machine with a zipper foot delivers far more durable and professional results.
What type of zipper is best for a hoodie conversion?
A #5 molded plastic (Vislon) separating zipper is ideal. It is lightweight, flexible, rust-proof, and will not jam or scratch the wearer like cheap metal hardware.
How do I finish the raw inside edges of the fleece?
Because circular knit fleece does not unravel like woven fabrics, you can simply trim the seam allowance neatly with pinking shears, fold the zipper tape over the raw edge, or sew a strip of lightweight cotton twill tape over the raw seam for an ultra-clean interior finish.
Get our latest guides, news, and insights highlighted in your Google Search & AI Overviews.